Perfect meal for lent!
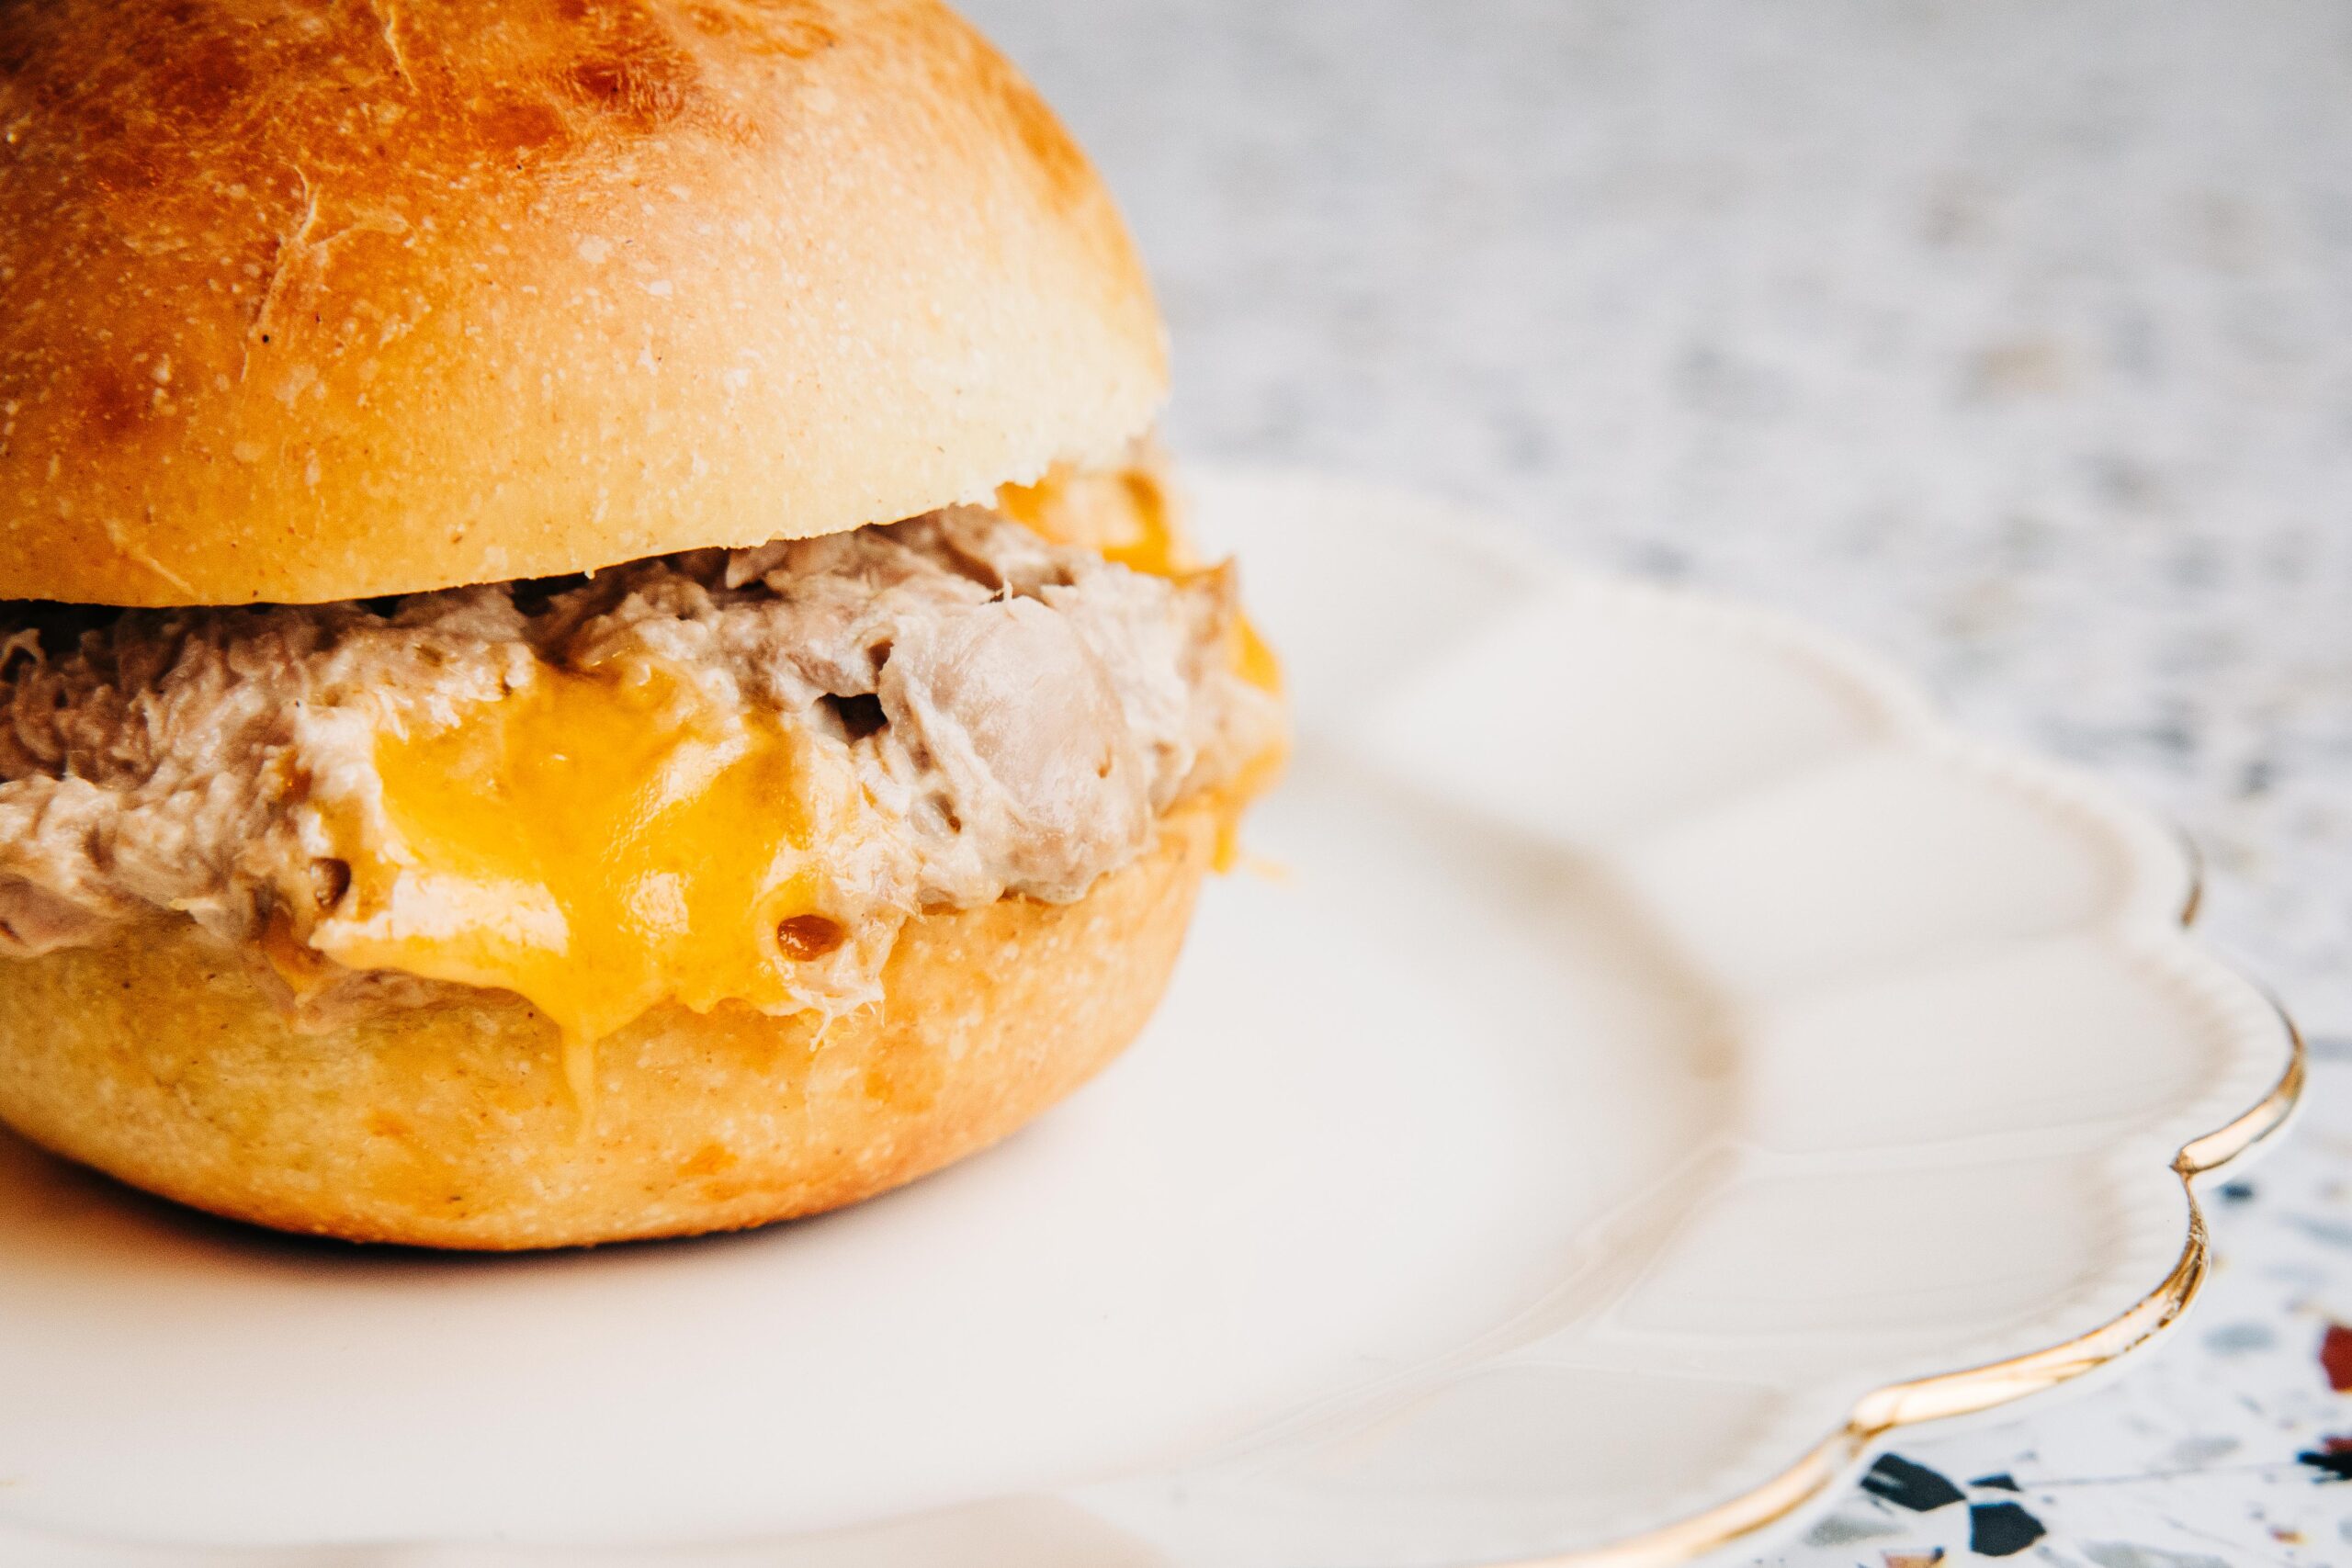
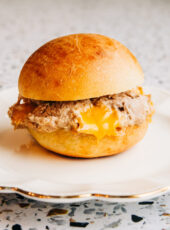
Sometimes you want something warm and cheesy, but you don’t want to be stuck in the kitchen for too long. That’s where these Cheesy Make-Ahead Tuna Melts come in. Your classic tuna and mayo, mixed with cubes of cheddar tucked inside a soft bun—so when you bite into it, you hit those little pockets of melty cheese. Wrap them up in foil, stick them in the fridge, and when you’re ready to eat, just pop them in the oven. In no time, you’ll have a delicious, gooey tuna melt waiting for you—no fuss, just pure, cheesy comfort.
When we aren’t making these for a Lent meal, we swap the tuna for canned chicken. We can our own chicken, so it’s always on hand—and this is one of the easiest and tastiest ways to use it up. It’s protein-packed, satisfying, and kid-approved.
These also travel well. After they’re baked, keep them wrapped in foil and stack them in a cooler. Add a couple hot packs to keep everything warm. They’re perfect for on-the-go lunches, quick dinners between sports practices, or even field meals for your favorite farmer during planting or harvest season.
The brioche buns used in this post come from The Good Stuff Bake Shop, be sure to check out the menu this week!
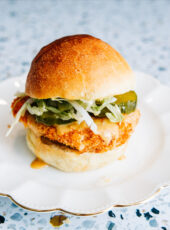
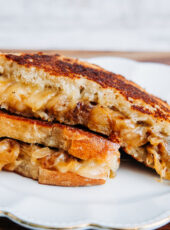
If you’re looking for other great options during lent The Dill-ightful Grilled Cheese Sandwich & The French Onion Grilled Cheese! Both warm, cheesy comfort meal options!
Ingredients
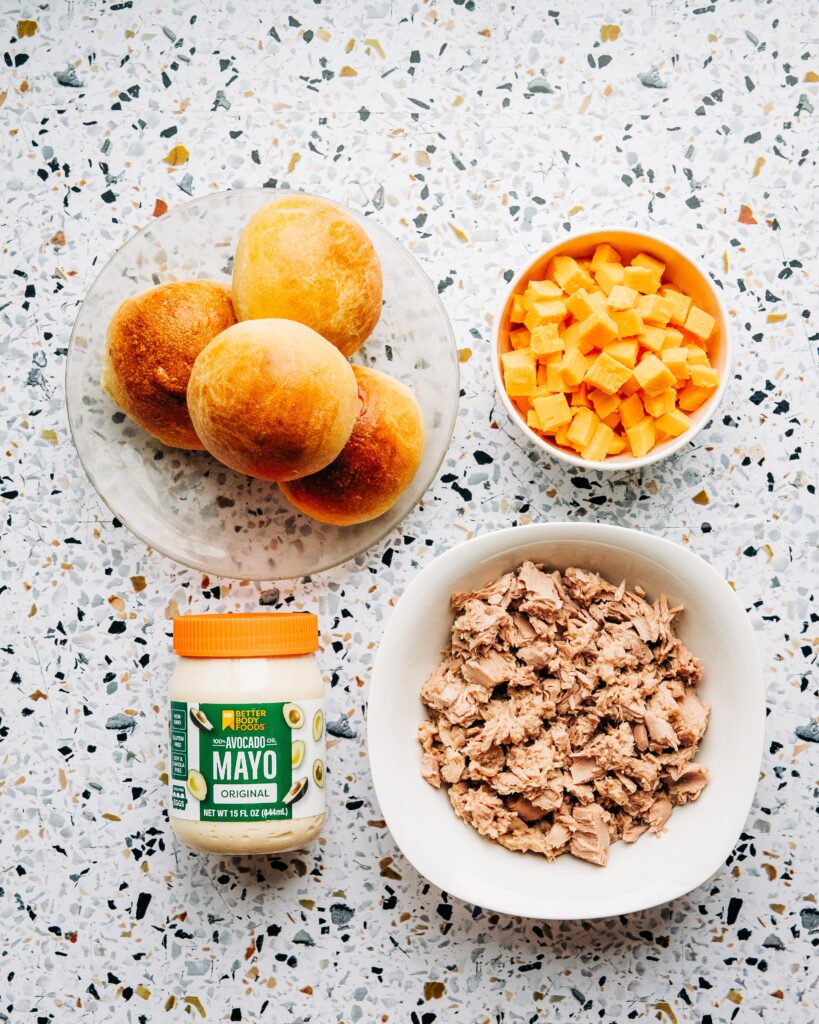
- Tuna (Can also be replaced with canned chicken): I like to look for wild caught tuna packed in water. Light Tuna (usually skipjack) has lower mercury levels than albacore tuna.
- Mayonnaise: The Chosen Foods one is good clean option or you can make your own Homemade Mayonnaise!
- Block of cheddar cheese cut into cubes: I like extra sharp for more flavor, but most cheeses of your choice will work here. You can always use more/less cheese, we are cheese lovin’ folks in this house!
- Buns: For buns with quality ingredients check out The Good Stuff Bake Shop‘s menu for the week!
- Salt and Pepper to taste
- Ranch seasoning (NOT PICTURED): gives this a something extra! You can learn to make your own here, or customize by using your favorite seasoning combo! This chicken will take on any flavors great!
- Jalapeños, green onions, bacon or diced celery are optional, my husband and I always add jalapeños to ours!
As an Amazon Associate, I earn from qualifying purchases.
Instructions
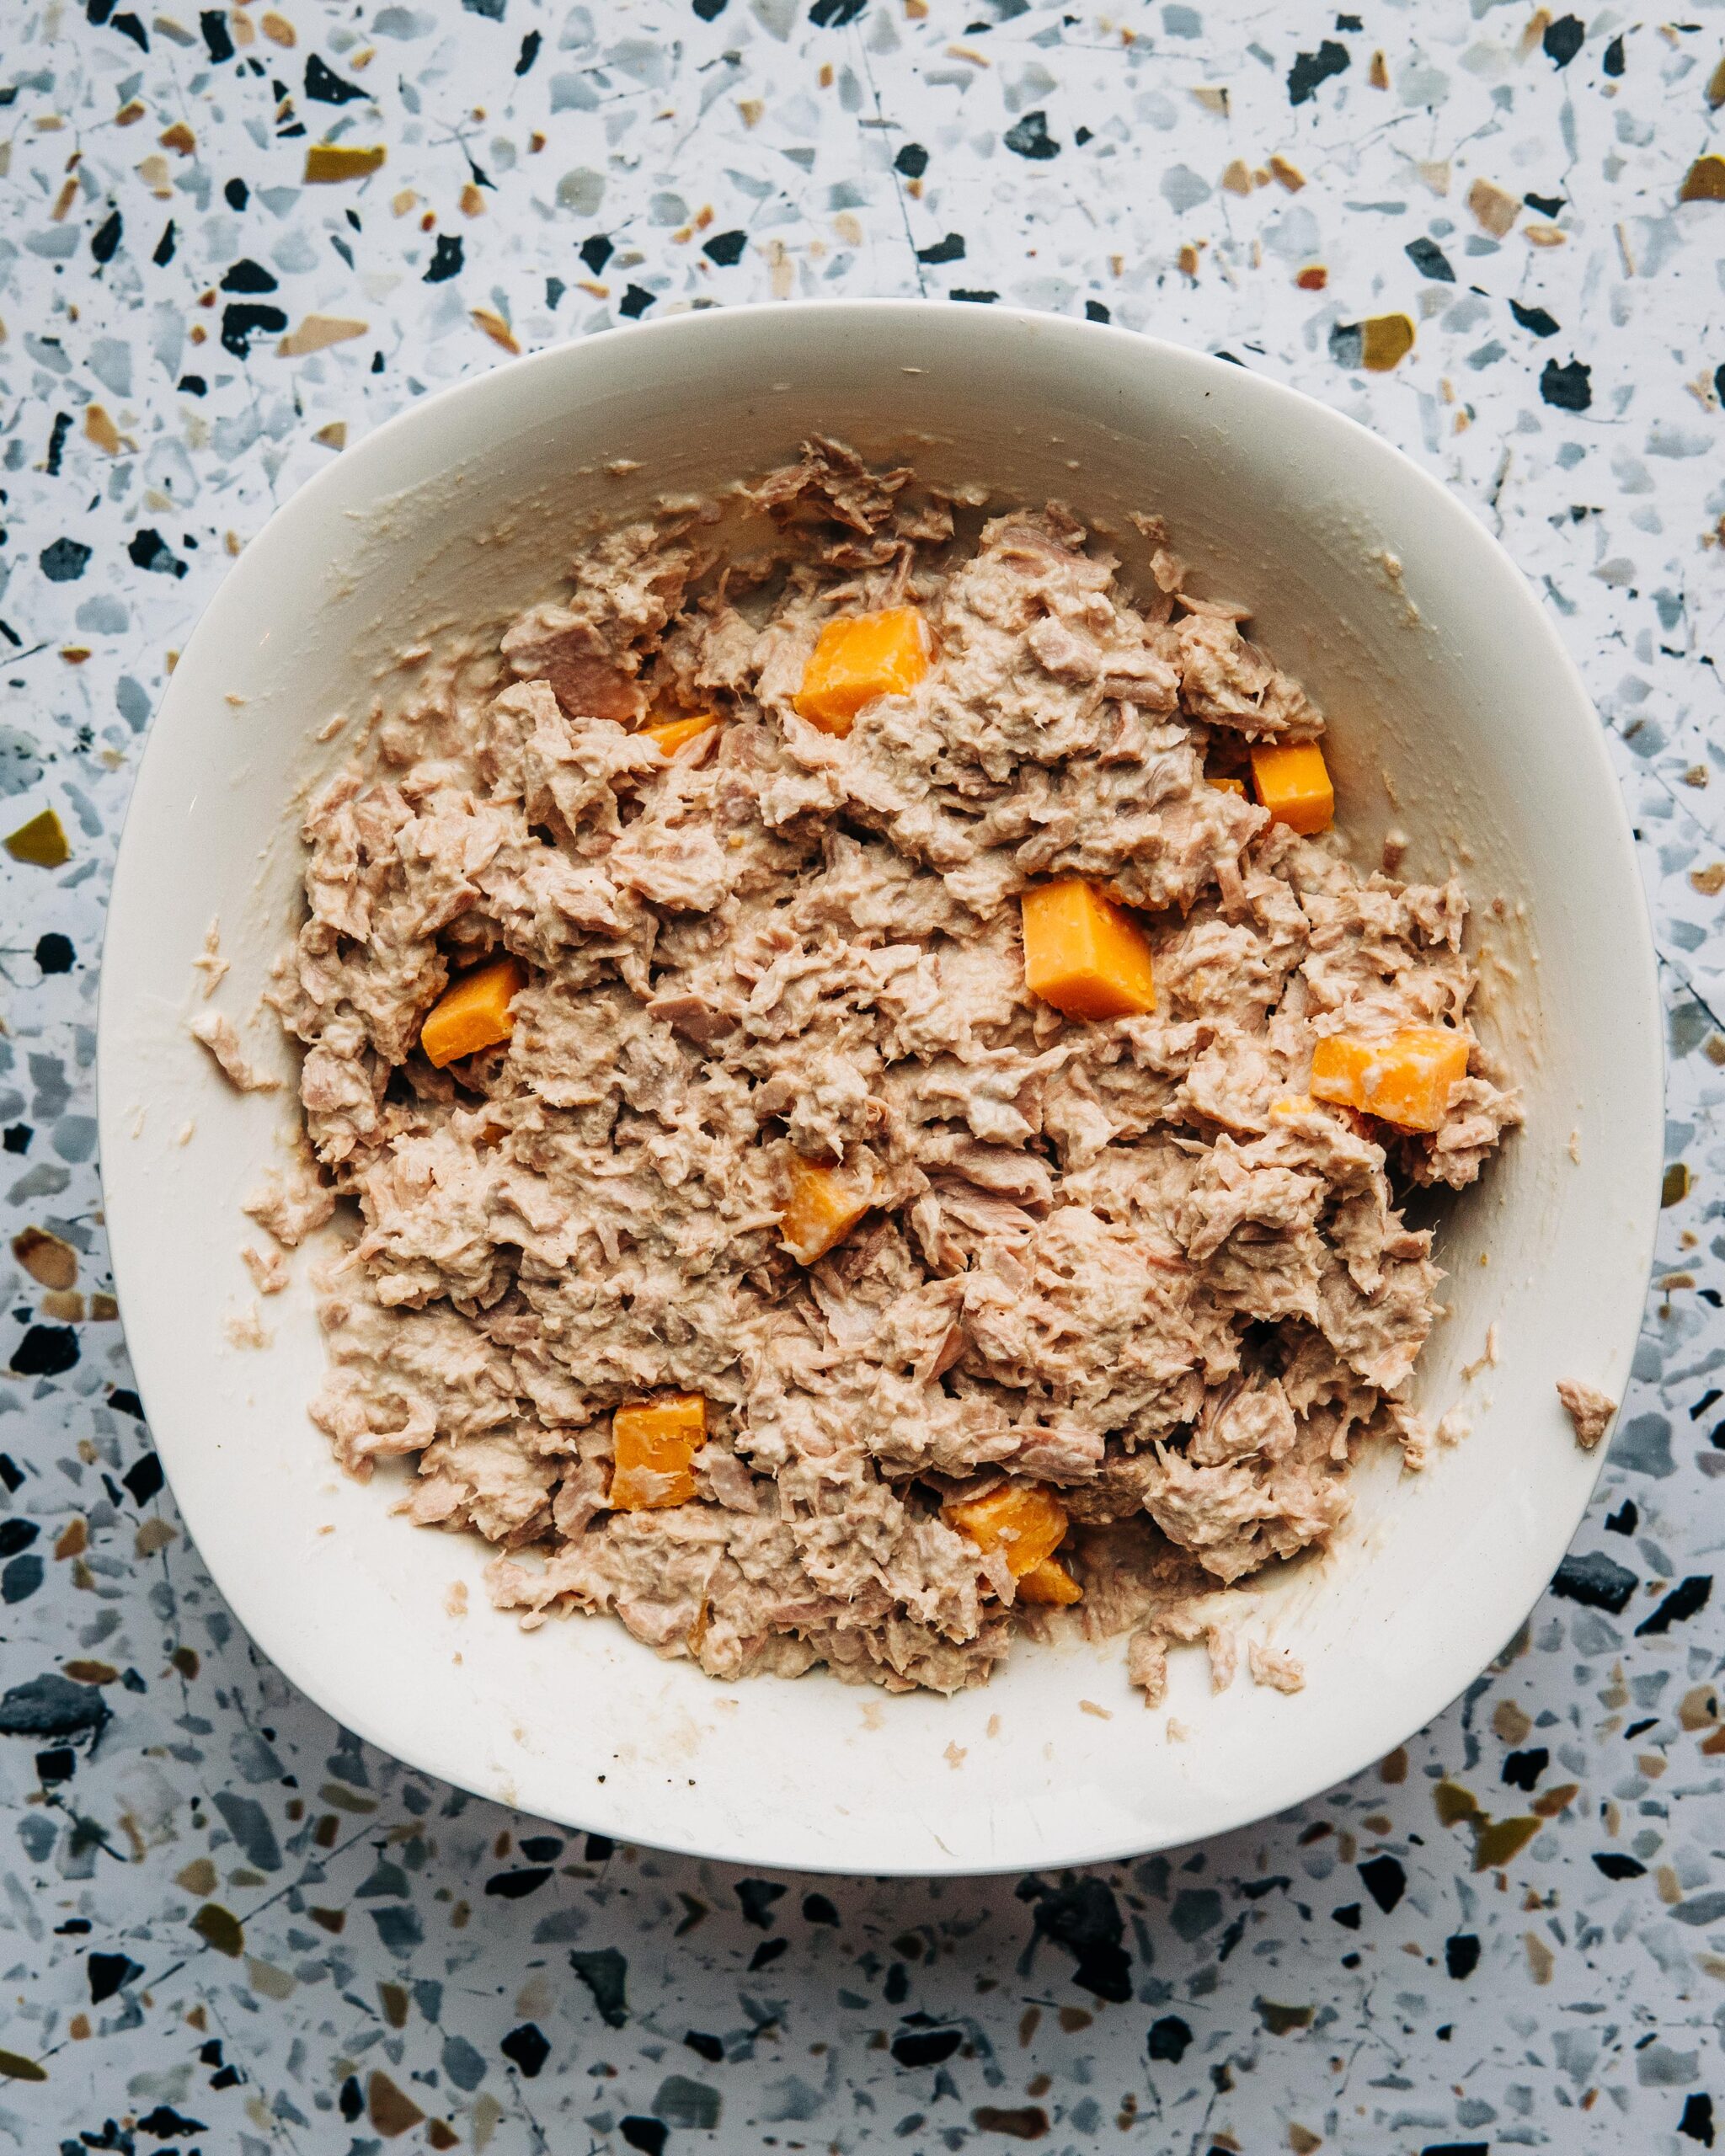
- Combine all of the ingredients besides the buns.
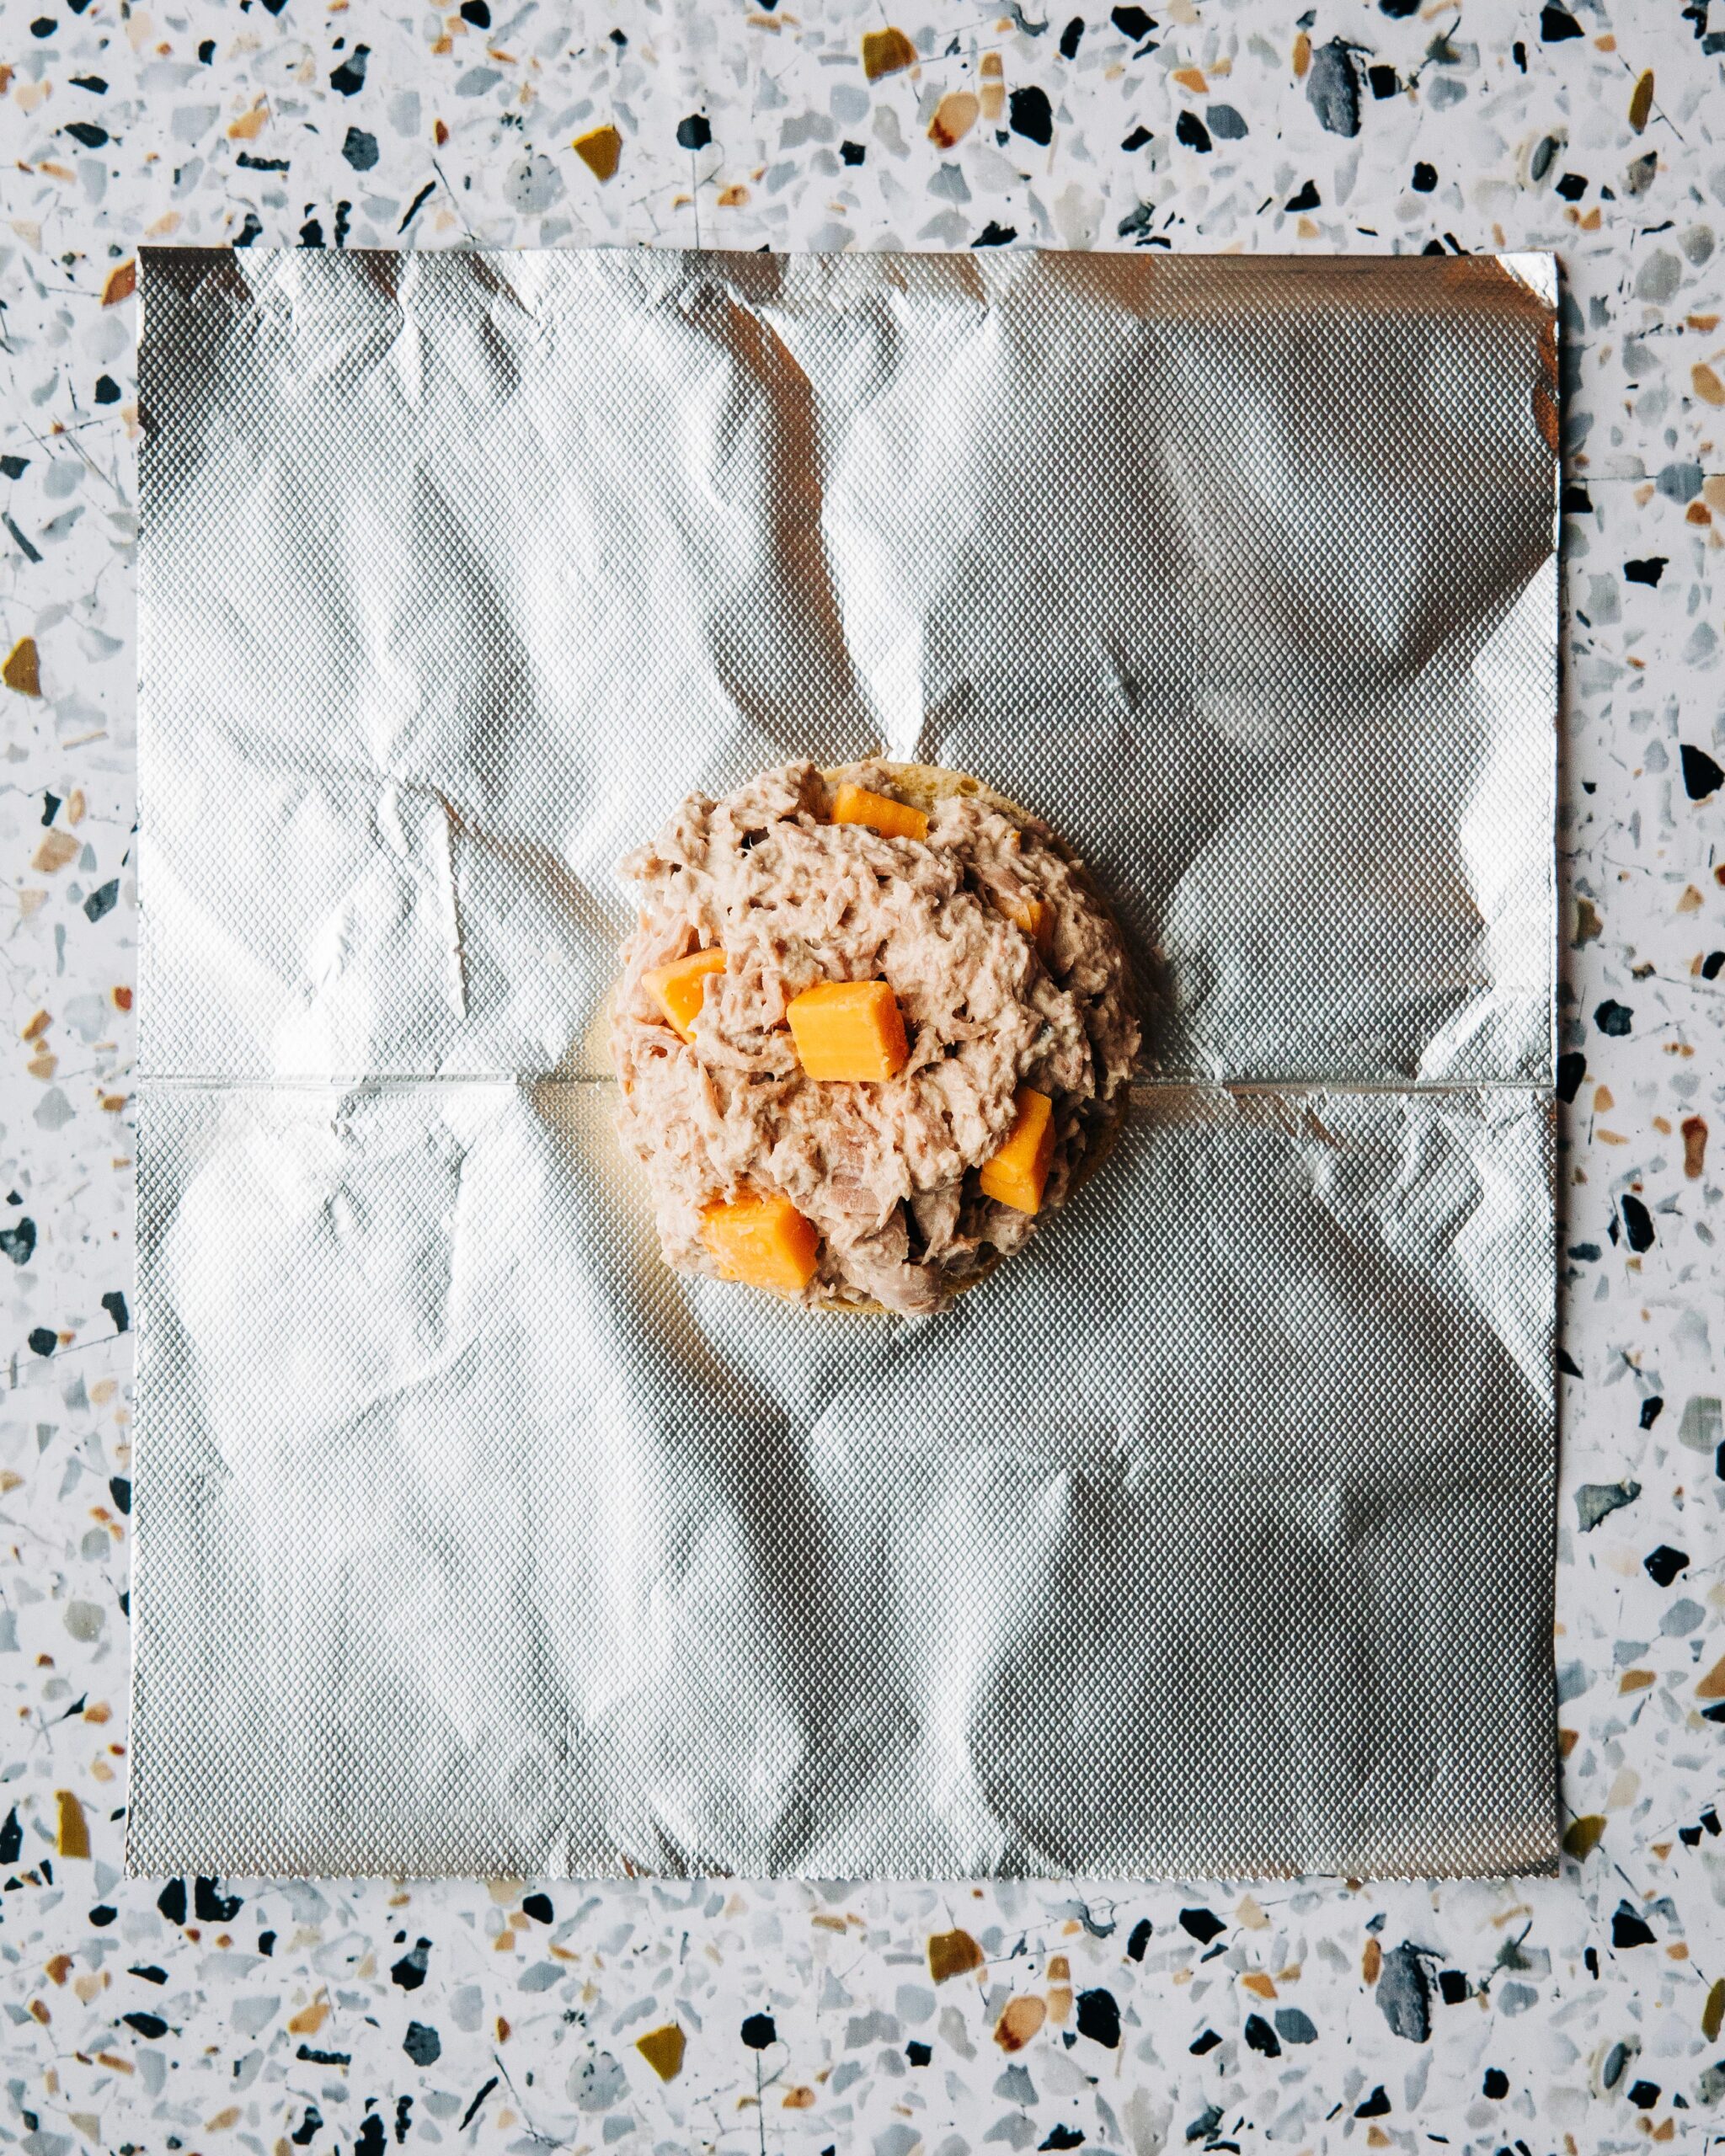
- Lay buns out on pieces of foil, I like to use precut foil sheets. If you’re trying to avoid aluminum (Which I should get better at!) these precut parchment sheets should also be a good option.
- Put the tuna mixture on each bun, I used about 1/2 cup per sandwich, but this will vary depending on the size of the buns
- Put the top bun on and wrap the sandwich up. From here you can put them directly into the oven or put them into the refrigerator until you’re ready to bake. I wouldn’t make them more than 24 hours in advance or you will end up with soggy buns…no one like a soggy bun!
- Bake @ 425′ for 20 minutes or until the interior of the sandwich is heated and the cheese is melted. You can also air fry at 350′ for around 15 minutes.
Cheesy Make Ahead Tuna Melts
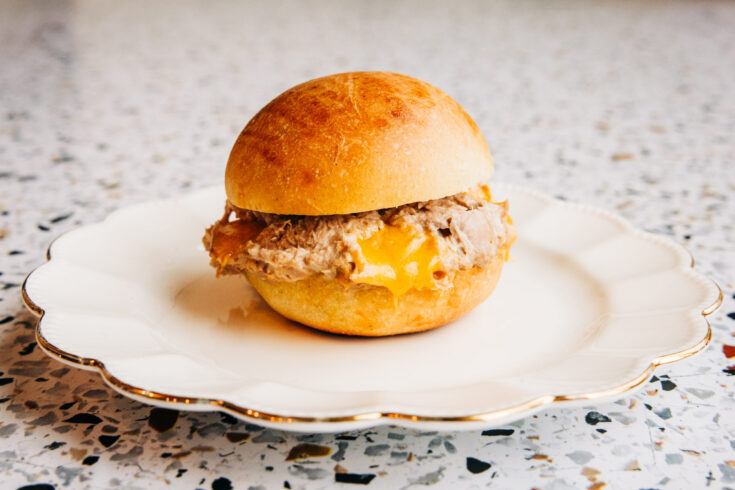
Classic tuna and mayo, mixed with cubes of cheddar tucked inside a soft bun—so when you bite into it, you hit those little pockets of melty cheese. Wrap them up in foil, stick them in the fridge, and when you’re ready to eat, just pop them in the oven. In no time, you’ll have a delicious, gooey tuna melt waiting for you—no fuss, just pure, cheesy comfort.
Ingredients
- 4- 5 oz cans of tuna (canned chicken works here also!)
- 1/3 cups mayonnaise
- 3/4 cup cubed cheddar cheese
- salt and pepper to taste
- 2 tsp ranch seasoning
- 4 to 5 buns
- optional- jalapeños, diced celery, green onions or bacon
Instructions
- Combine all of the ingredients besides the buns.
- Lay buns out on foil sheets, 1 per sandwich approximately 12"x12"
- Put the tuna mixture on each bun, I used about 1/2 cup per sandwich, but this will vary depending on the size of the buns
- Put the top bun on and wrap the sandwich up. From here you can put them directly into the oven or put them into the refrigerator until you're ready to bake. I wouldn't make them more than 24 hours in advance or you will end up with soggy buns.
- Bake @ 425' for 20 minutes or until the interior of the sandwich is heated and the cheese is melted. You can also air fry at 350' for around 15 minutes.
Be sure to PIN Cheesy Make Ahead Tuna Melts to save for later!

Pingback: The French Onion Grilled Cheese - Welcome
Pingback: Crockpot Ground Beef Philly Fix- keto friendly and so simple! - The Good Stuff Bake Shop & Blog
This sounds like the perfect quick and comforting meal! I love how easy it is to prepare ahead of time for busy days. The idea of melty cheddar pockets in every bite is making me hungry. Using canned chicken instead of tuna is such a smart variation—great for changing things up. Can I freeze these ahead, or are they best kept in the fridge?
I’ve never tried freezing them, so I can’t say for sure. If you try it out, let me know!
Pingback: 🌿 The Good Stuff Simple Swaps – Every Wednesday! 🌿 - The Good Stuff Bake Shop & Blog
Pingback: Chicken Fajita Foil Packets – Easy Camping Dinner - The Good Stuff Bake Shop & Blog