Keep reading for cast iron cleaning, care, and cooking tips! Not an expert, but this is what has worked for me over the years!
To cook with cast iron isn’t just for hardcore chefs or those channeling their inner pioneers. Not only do these hefty, timeless pans add a delicious, deep flavor to your meals, but they also sneak in a little extra iron. That’s right: every time you cook, you’re potentially boosting your iron intake, which is great for keeping your energy up and preventing that sluggish feeling that comes with iron deficiency.
And let’s talk about longevity. I own a few of my Grandma Alma’s cast iron skillets—if only those pans could talk. 😉💕I’ve literally rescued a cast iron dutch oven lying out in the middle of the woods, and many more from Trader Days and swap events. I always wonder what was made in these pans before me. A cast iron skillet can outlive you, your kids, and probably their kids too. It’s like a family heirloom that doubles as a cooking tool, so you’re not just getting a pan—you’re getting a lifetime of delicious meals. So, while you’re whipping up that perfect steak, you’re also investing in something that’ll stick around for generations—talk about a win-win!
I cook with cast iron in SO many things including this Dill Pickle Grilled Cheese, Sriracha Egg Sandwich & French Onion Grilled Cheese!
The Lodge brand is definitely a fan favorite. We use the heck out of this 10.5″ Lodge Skillet. If you want to dive right in with three different sizes, I’ve heard great things about this set from Utopia! Cast iron skillets can usually be found relatively cheaply. For newly purchased skillets, I still like to add a layer or two of seasoning!
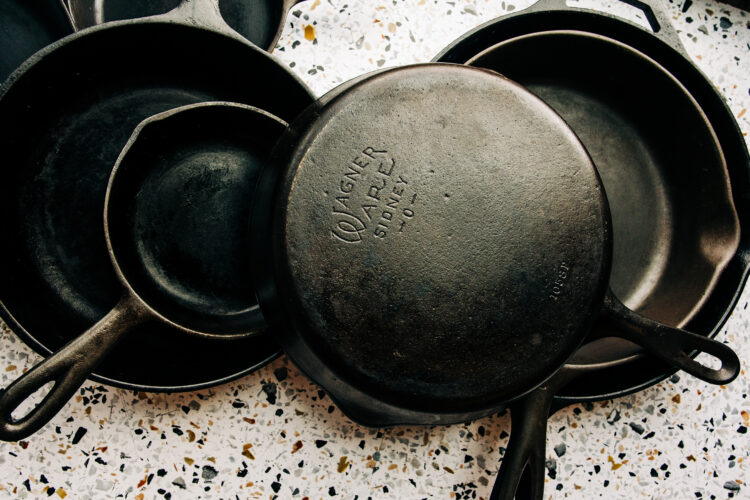
I’m always on the lookout for OLD cast iron—it’s much lighter than the new stuff, and I definitely prefer it! If you ever find an abandoned stash that hasn’t been properly cared for, you CAN still rescue it! I could write a whole extra (very long 😂) post about identifying old cast iron, figuring out their age, and how old cast iron was made differently, resulting in a different finish and weight… but I won’t bore you with that, at least not today. 😉.
#1 RULE: DO NOT RUN YOUR CAST IRON THROUGH THE DISHWASHER… LIKE EVER! If this is the only thing you read on this page, let it be this. Also, you CAN use regular dish soap on cast iron—I just try not to overdo it—and definitely no soaps with lye.
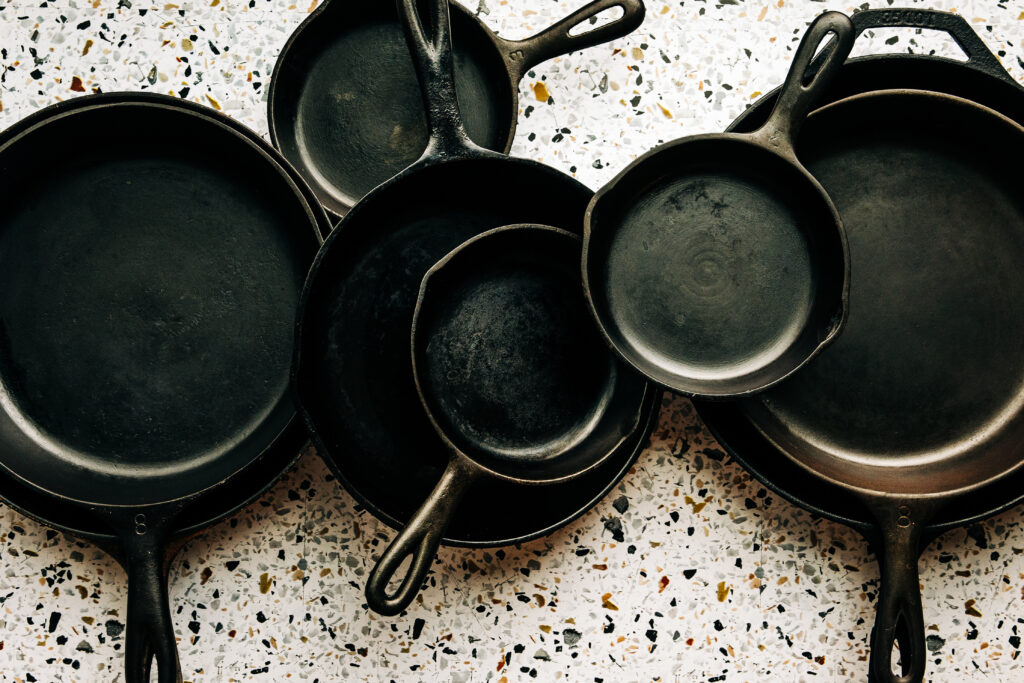
This is a small glimpse into my cast iron collection ( I have problem, I know 🫣😬😂).
Some of my favorite cast iron care/use products
Crisbee Stik and/or Puck– great for seasoning, not a MUST have, but they are handy!
Magnetic Trivet by Lodge– sticks to the bottom of your skillet/pots when you’re done cooking, so you can set them on your counter. The bottom of cast iron stays hot for a long time, so these are great for protecting your counter top and easy for kids to use!
Chainmail makes a great cast-iron scrubber. I hang it from a hook inside the cabinet under my sink for a quick way to dry it out and store it.
Cast Iron Handle covers– Your handles will get hot when cooking! I like the cloth/leather versions better than the silicone. I think they are easier to slip off before putting in the oven.
Kitchen Scrapers– If you don’t already have these flying around, do yourself a favor and get some! We use these to clean everything!
Cast Iron Care/Seasoning
1. Clean the Skillet
- If it’s new: Give it a quick wash with warm water and mild soap to remove any factory residue (don’t worry, it won’t ruin the seasoning process).
- If it’s used: Scrub off any food particles with warm water and a stiff brush or scraper. If there is some rust, try a vinegar soak. Chainmail makes a great cast-iron scrubber.
- Dry it thoroughly afterward with a towel or by heating it up on the stove for a minute or two.
2. Apply Oil
- Choose a high-smoke point oil like avocado oil, flaxseed oil, lard, or tallow. I also keep a Crisbee Stik and Puck on hand!
- Pour a small amount of oil onto the skillet and use a paper towel or cloth to rub it all over the surface, including the inside, handle, and even the outside. The goal is to create a thin, even layer—don’t overdo it! Too much oil can lead to a sticky surface. I basically rub it down with oil and then attempt to completely remove the oil (which is impossible, but leaves just the thin layer you want!
3. Heat It Up
- Preheat your oven to 450°F (or 500°F, if your skillet can handle it).
- Place your skillet upside down in the oven (you can put a sheet of aluminum foil or a baking tray on the rack below to catch any drips).
- Bake for about 1 hour. This will allow the oil to polymerize and form a durable, non-stick coating. After 1 hour, turn off the oven and let the skillet cool down inside the oven.
4. Repeat if Needed
- I usually repeat the seasoning process 2-3 times to build up a good layer. It’s like building a solid foundation! As you use your skillet, if it ever seems like it need another layer of seasoning, give it a good scrub and add another layer. No need to strip it down.
Bonus Tips
- Always dry your skillet immediately after washing it, if it’s just oil/butter in the skillet, I will just wipe it out with a towel while it’s still warm instead of doing a full clean.
- After each use, consider rubbing a tiny bit of oil on it while it’s still warm to maintain the seasoning and prevent rust.
- Don’t worry if your skillet looks a little uneven at first. Over time, the seasoning will even out, and your skillet will develop that perfect, shiny black patina.
- If it’s “rescue project” that is VERY rusty/corroded: Do this at your own risk! Some cast iron enthusiast don’t love the use of high heat to burn off cast iron. This is what works for me, but I definitely wouldn’t leave it unattended. Scrub out as much junk as you can, so nothing will catch fire. Remove any extra racks from your oven. Put the skillet/dutch oven upside down on the rack and run the “self clean” on your oven. If your oven does a steam self clean instead of using very high heat, this will not burn off all the rust/junk. You may need to resort to repeated scrubs/vinegar soaks or you can also try it over a fire.
How to Cook with Cast Iron
1. Preheat Your Skillet
Always preheat your cast iron over medium heat for a few minutes before adding food. To test if it’s hot enough, flick a few drops of water into the skillet. If the water dances and evaporates quickly, the skillet is ready.
2. Hot Skillet, Cold Oil-SUPER IMPORTANT!!
Once the skillet is hot, add cold fat (like butter, ghee, lard, or tallow) right before adding food. This ensures that the fat heats up quickly and evenly coats the pan, creating a non-stick barrier.
3. Patience with Temperature
Cook at medium to medium-high heat. Too low, and food will stick; too high, and it can burn. Let food release naturally, especially when cooking meats like steak or chicken.
4. Avoid Overcrowding
Don’t overcrowd the pan. Cooking in batches ensures food sears properly without releasing too much moisture, which can cause sticking.
By following these tips, you’ll be able to cook with your cast iron without worrying about food sticking!
Let me know if you have any questions or great cast iron tips of your own and Happy cooking!
Be sure to PIN for later for when you want to Cook with Cast Iron!
