Crispy Chicken Sandwich – A Healthier Take on a Classic
A really good chicken sandwich should have three things: a crispy, well-seasoned coating, a juicy interior, and a soft, sturdy bun to hold it all together. Fast food chains have perfected the formula, but let’s be honest—most of them are deep-fried in mystery oils and packed with ingredients no one can pronounce. That’s where this Crispy Baked Chicken Sandwich comes in.
This version skips the fryer and delivers crunchy, golden-brown chicken straight from the oven. No soggy breading, no bland bites, and definitely no sad, rubbery texture. Just pure, crispy goodness made with simple, real-food ingredients.
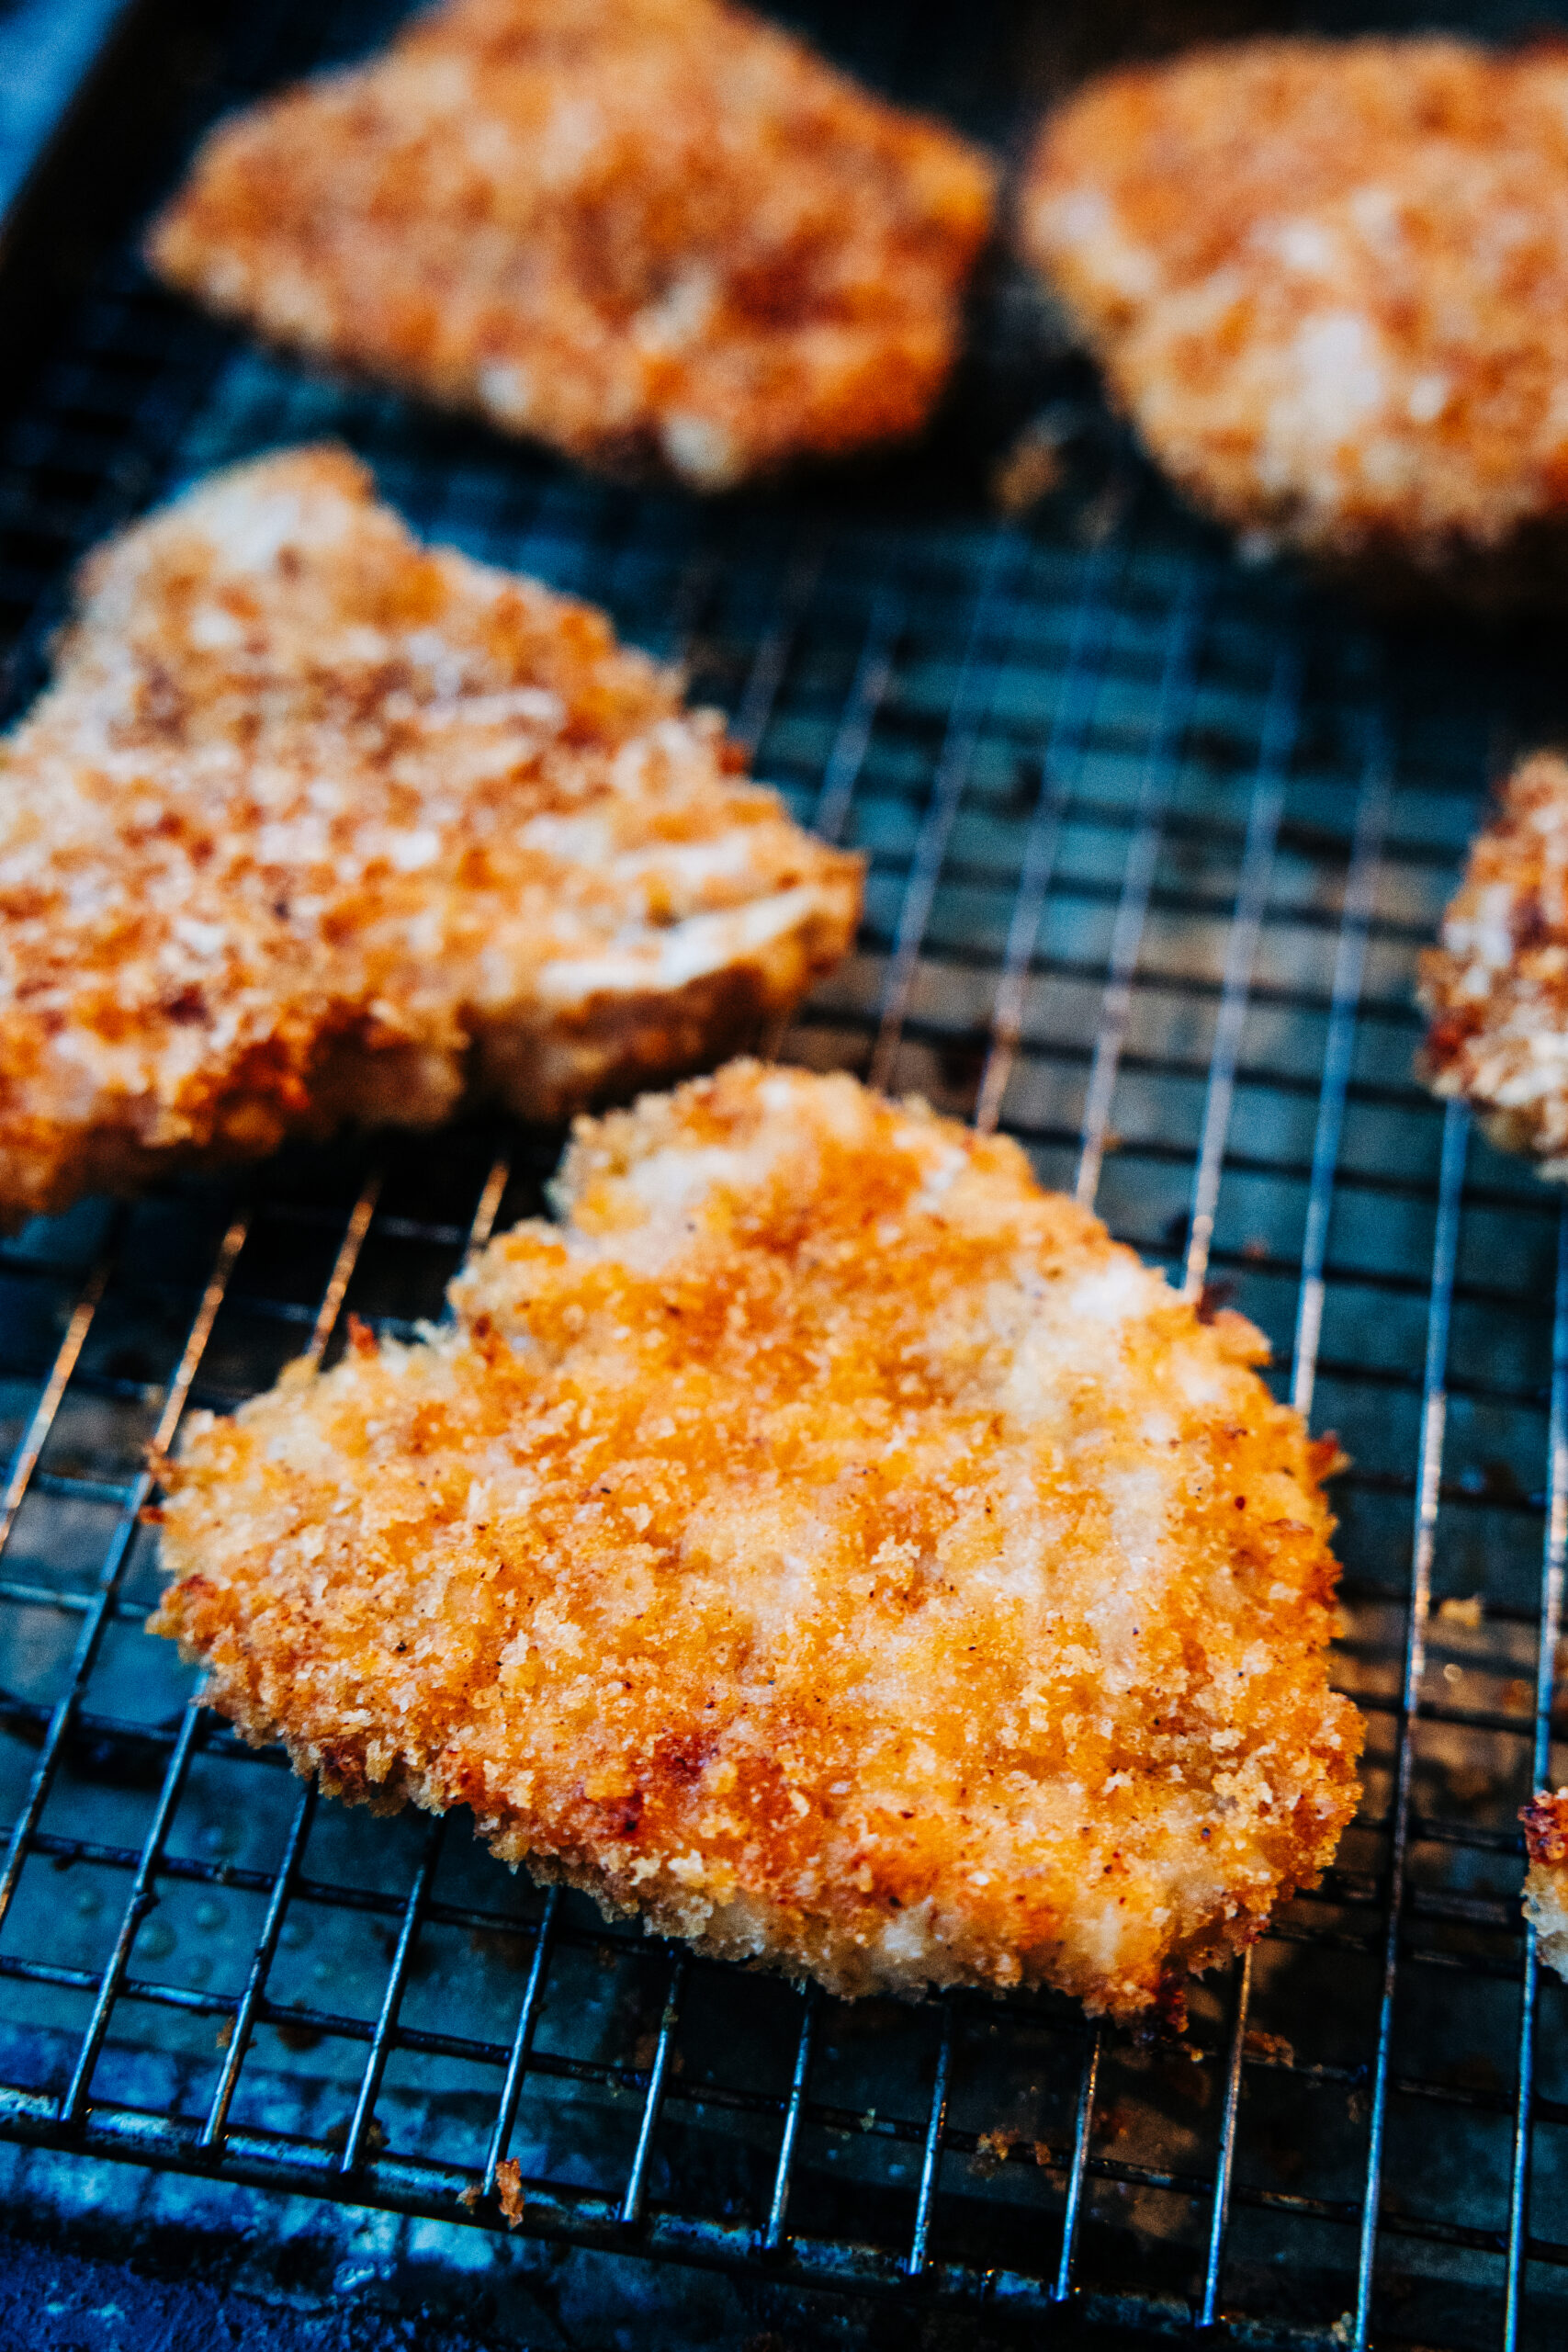
By placing a wire rack on top of a baking sheet we keep the breaded chicken elevated while it bakes, helping it crisp up evenly. I wrap my sheet pan in foil for easy clean up, and then set the wire rack on top of it. This is a great stainless sheet pan/wire rack combo.
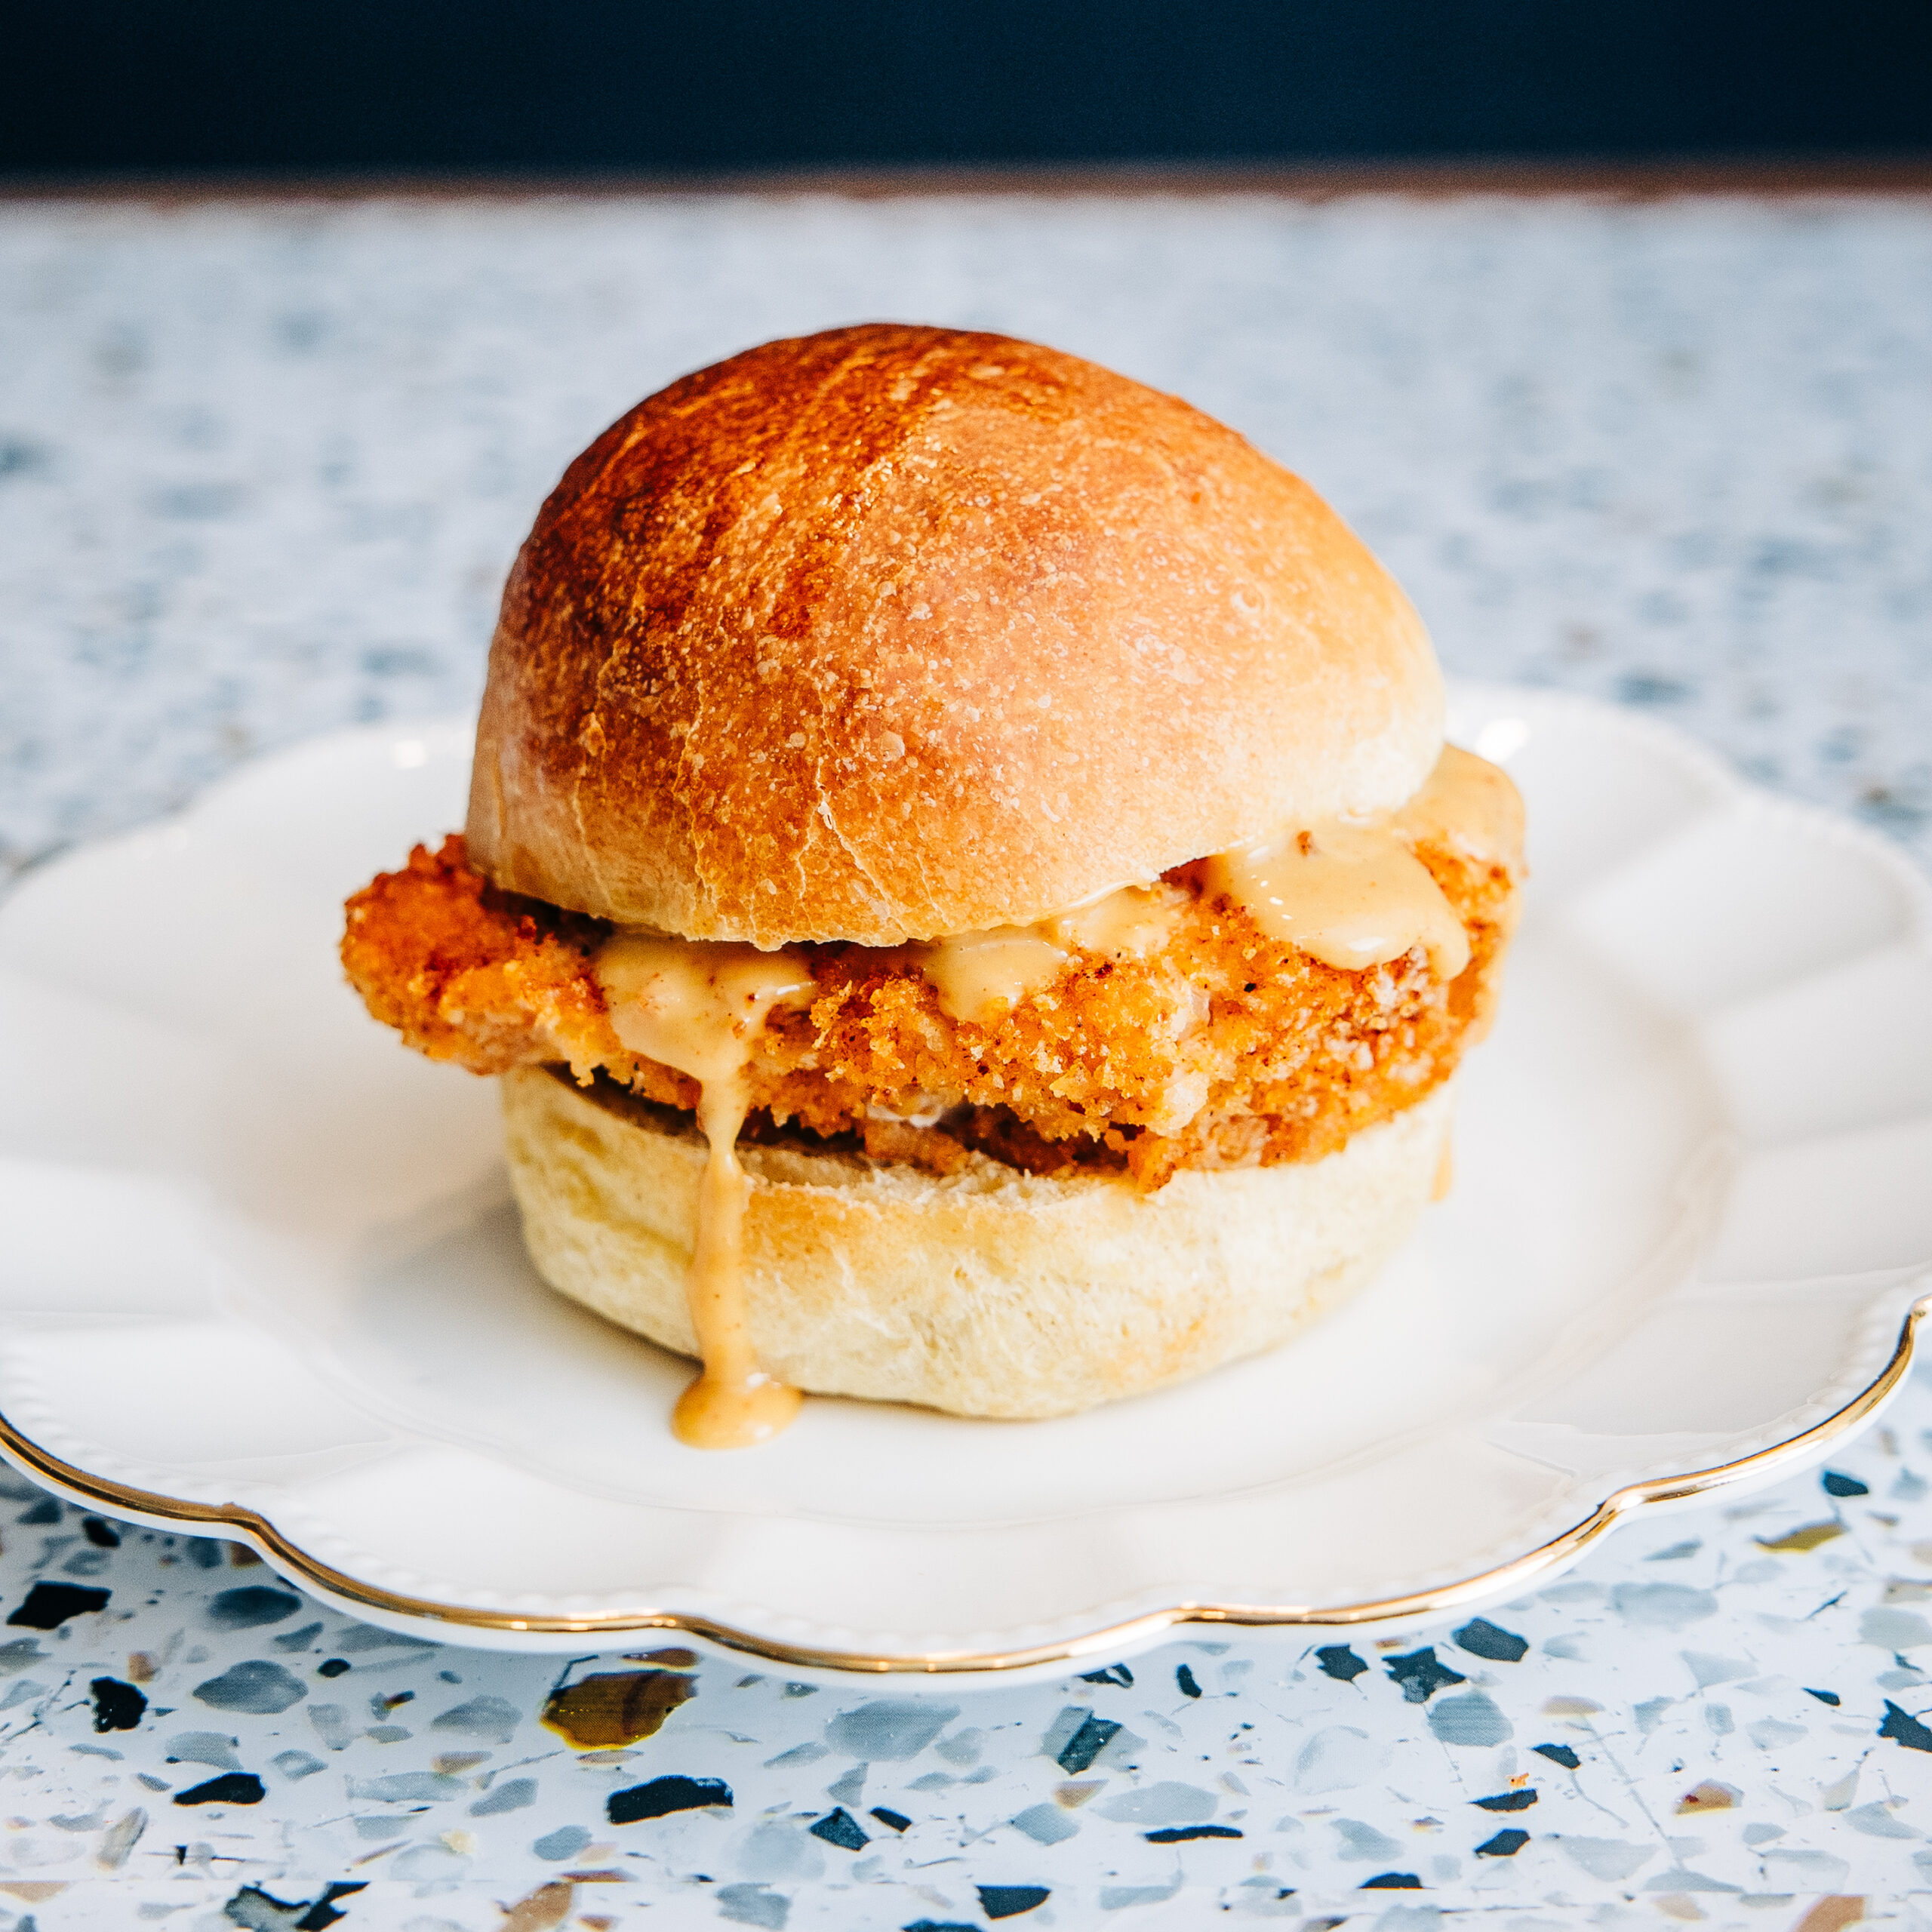
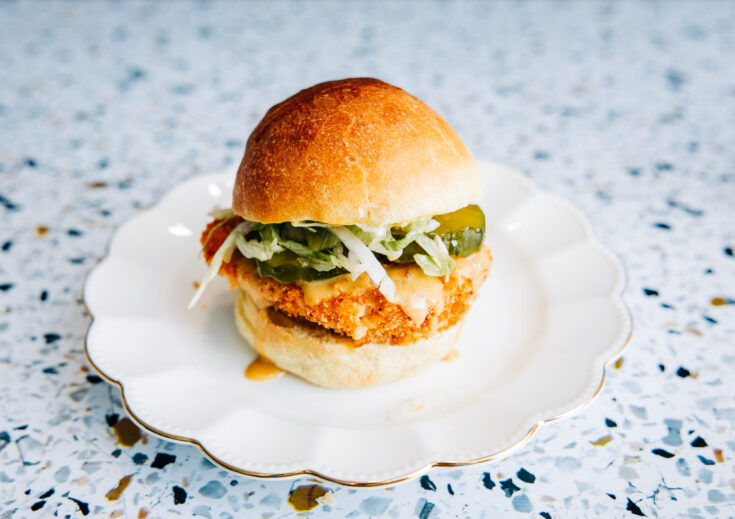
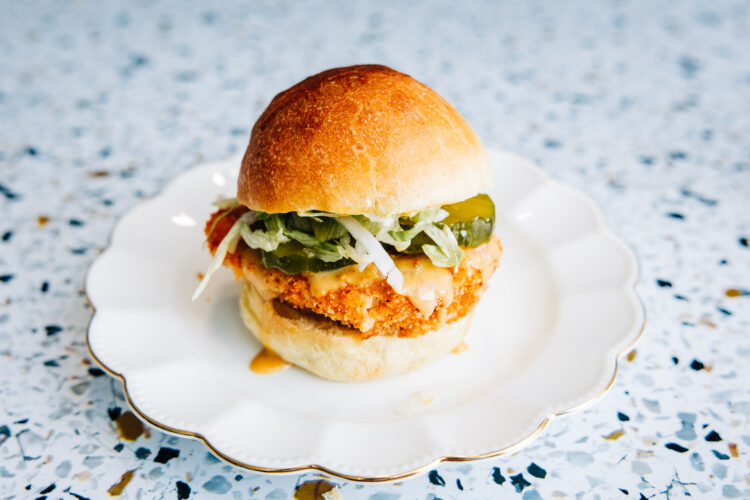
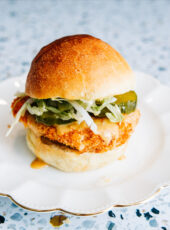
We like to top these with LOTS of Cleaner Copycat Chick-fil-A Sauce, Chicken’s Best Friend or The Best Homemade Mayonnaise. We also add crisp lettuce, and pickles, but top with whatever your heart desires! Whether you’re making these for a weeknight dinner, meal prepping for the week, or just trying to satisfy a fast-food craving without the drive-thru regret, this recipe has you covered.
Serve these alongside our Roasted Garlic Green Beans or Asparagus Fries to round out your meal!
I will also bread the chicken and freeze it on a sheet pan with parchment paper. Once they are all frozen, I bag them up for future, easy and quick chicken sandwiches! You can take them straight from the freezer and into the oven or air fryer. This is perfect for a quick lunch or supper!
Baked crispy chicken sandwiches are the perfect way to enjoy that crunchy, juicy chicken you love — without the deep fryer. They’re lighter, healthier, and still packed with tons of flavor. Make a batch for an easy weeknight dinner, meal prep for lunches, or a crowd-pleasing game day meal everyone will devour!
Let’s get into it!
Ingredients
breadcrumbs- I use a combo of panko and traditional breadcrumbs- check for seed oils or make your own!
plain yogurt, you can use plain greek yogurt if that’s what you have on hand, just thin it down a bit with water
boneless, skinless chicken breast
avocado oil- Better Body has an affordable option
hot sauce
salt
pepper
cayenne
smoked paprika-I buy the BIG container from Amazon, we use this on everything! (Doesn’t have to be smoked, but it adds a little something extra if it is!)
garlic powder
buns- Check out The Good Stuff Bake Shop for delicious buns, with great ingredients 😉
This post contains affiliate links.
Instructions
- Set your oven to 425ºF. Place a wire rack on top of a baking sheet—this will keep the breaded chicken elevated while it bakes, helping it crisp up evenly. I wrap my sheet pan in foil for easy clean up, and then set the wire rack on top of it. This is a great stainless sheet pan/wire rack combo.
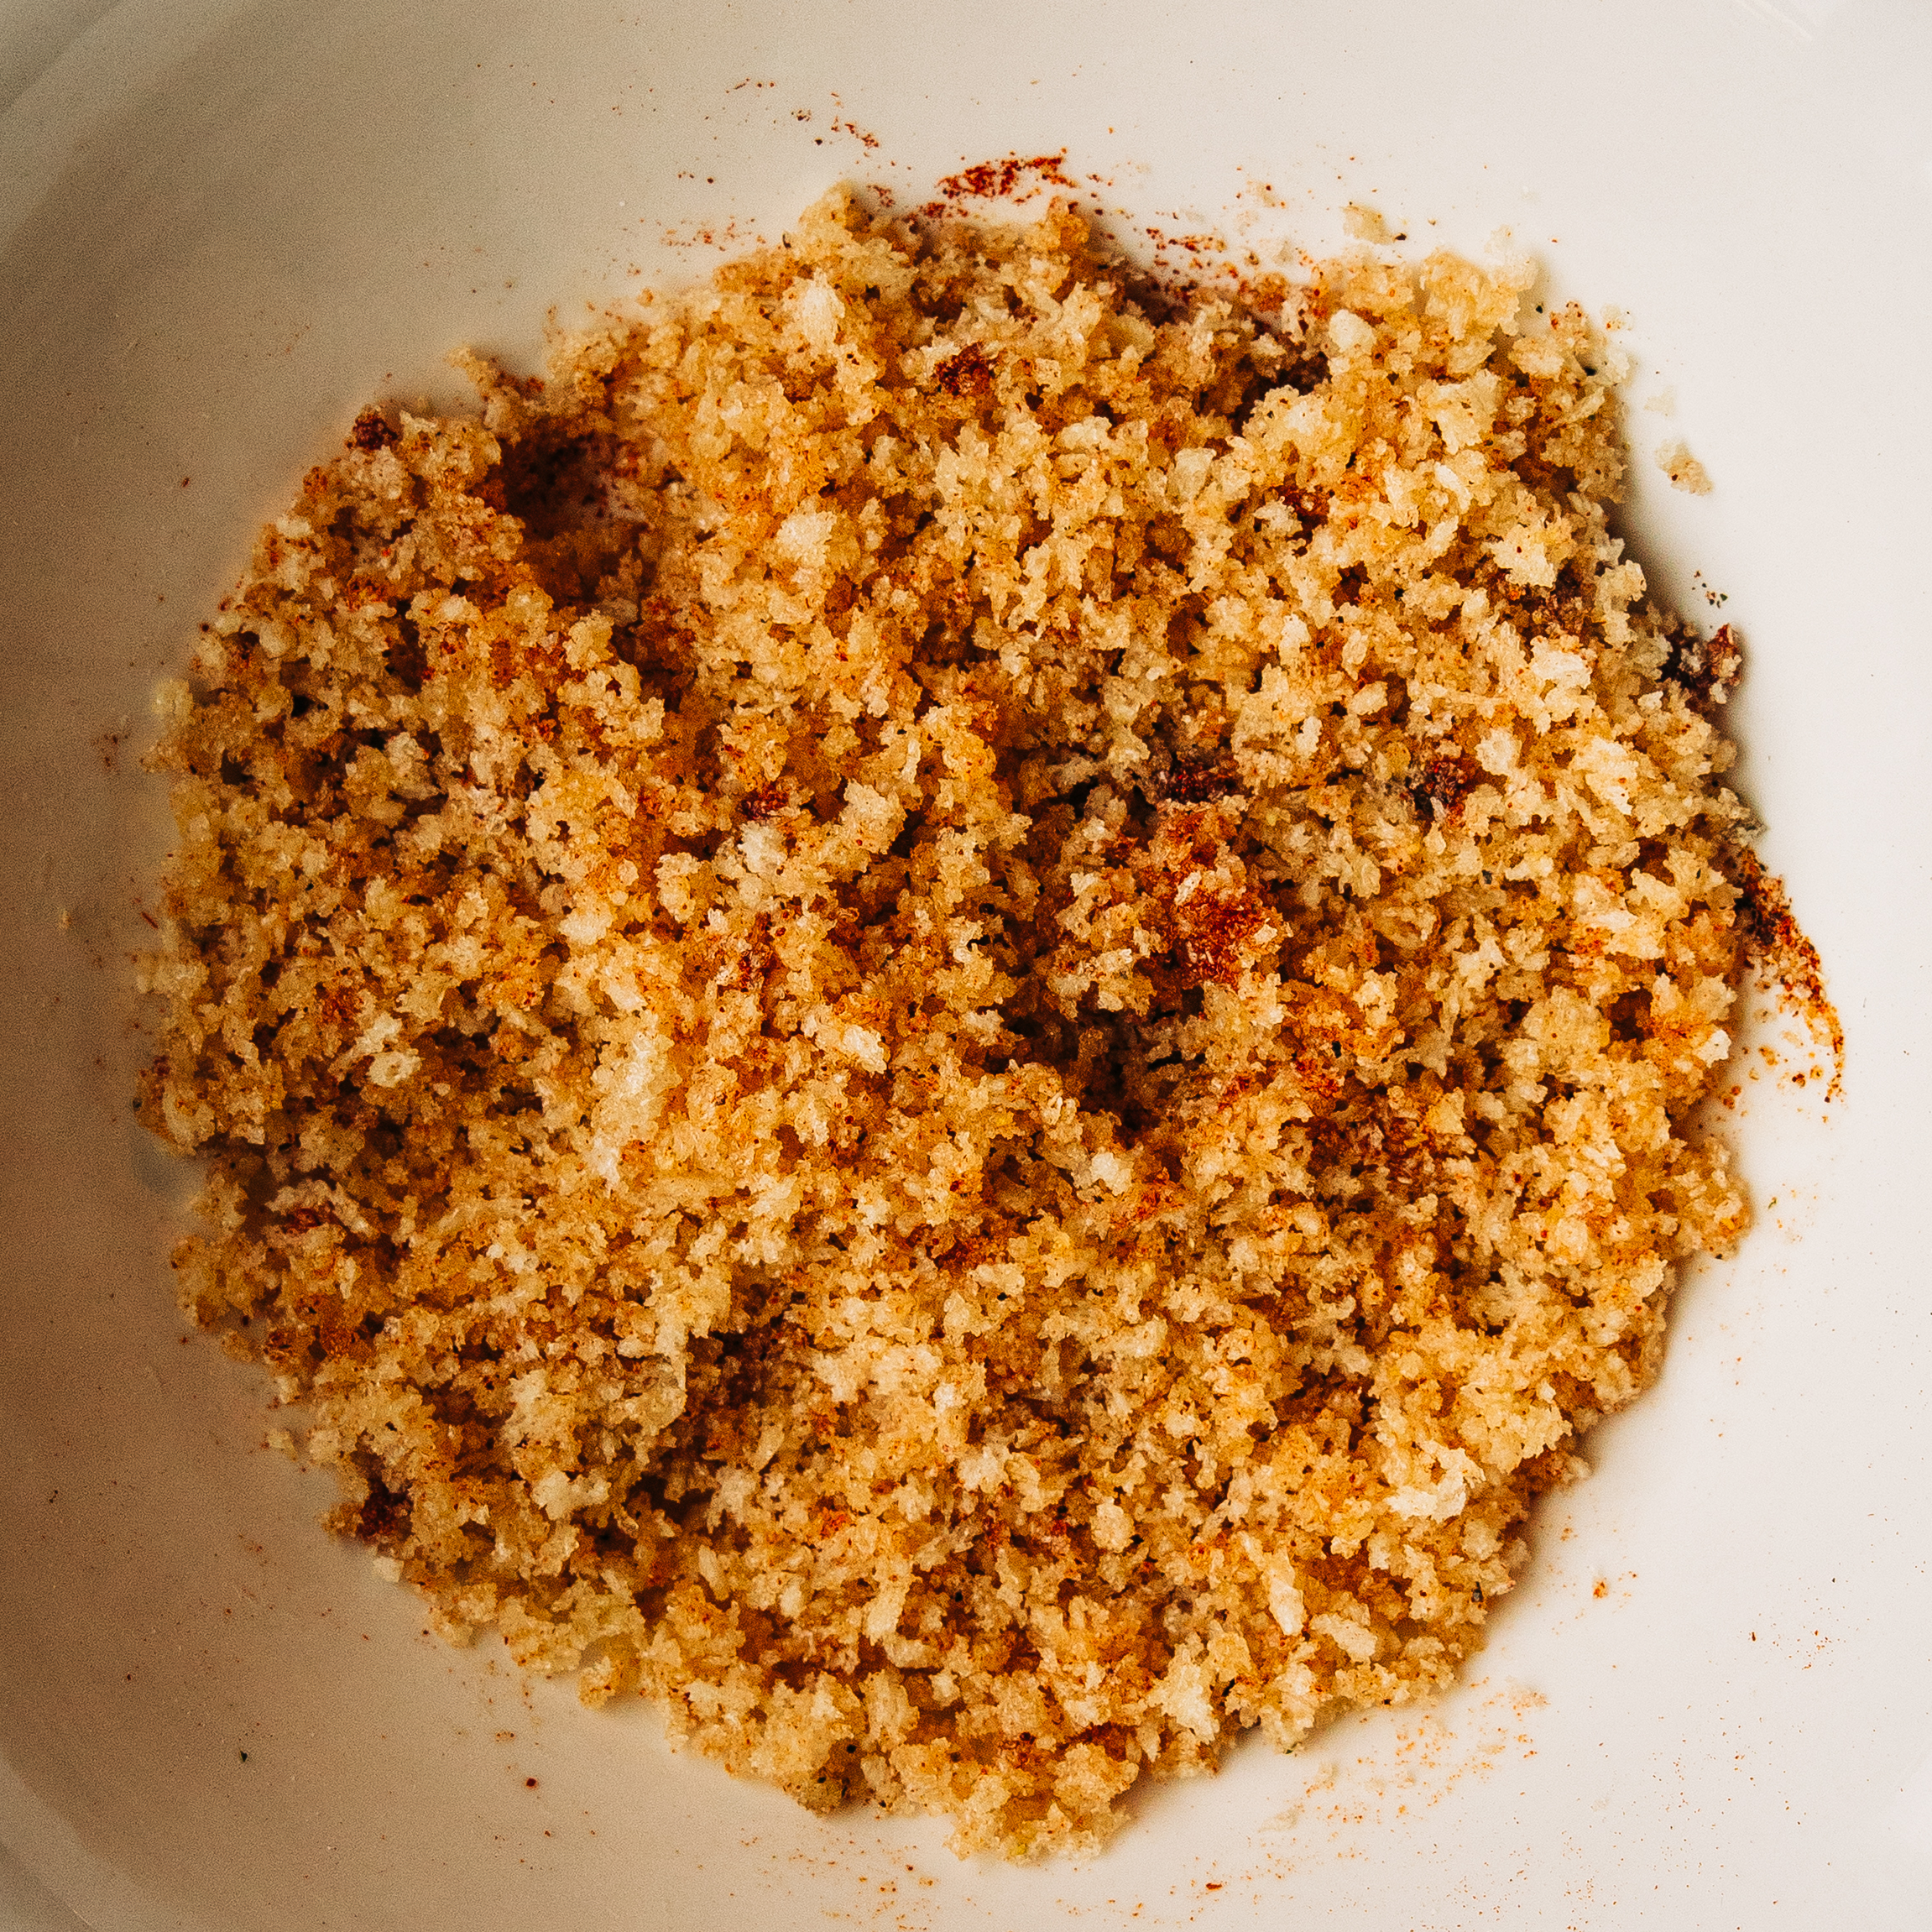
- In a wide, shallow dish, mix together bread crumbs, garlic powder, smoked paprika, cayenne, salt, and freshly cracked black pepper. Once combined, drizzle in the cooking oil and stir until the mixture has a damp, sand-like texture.
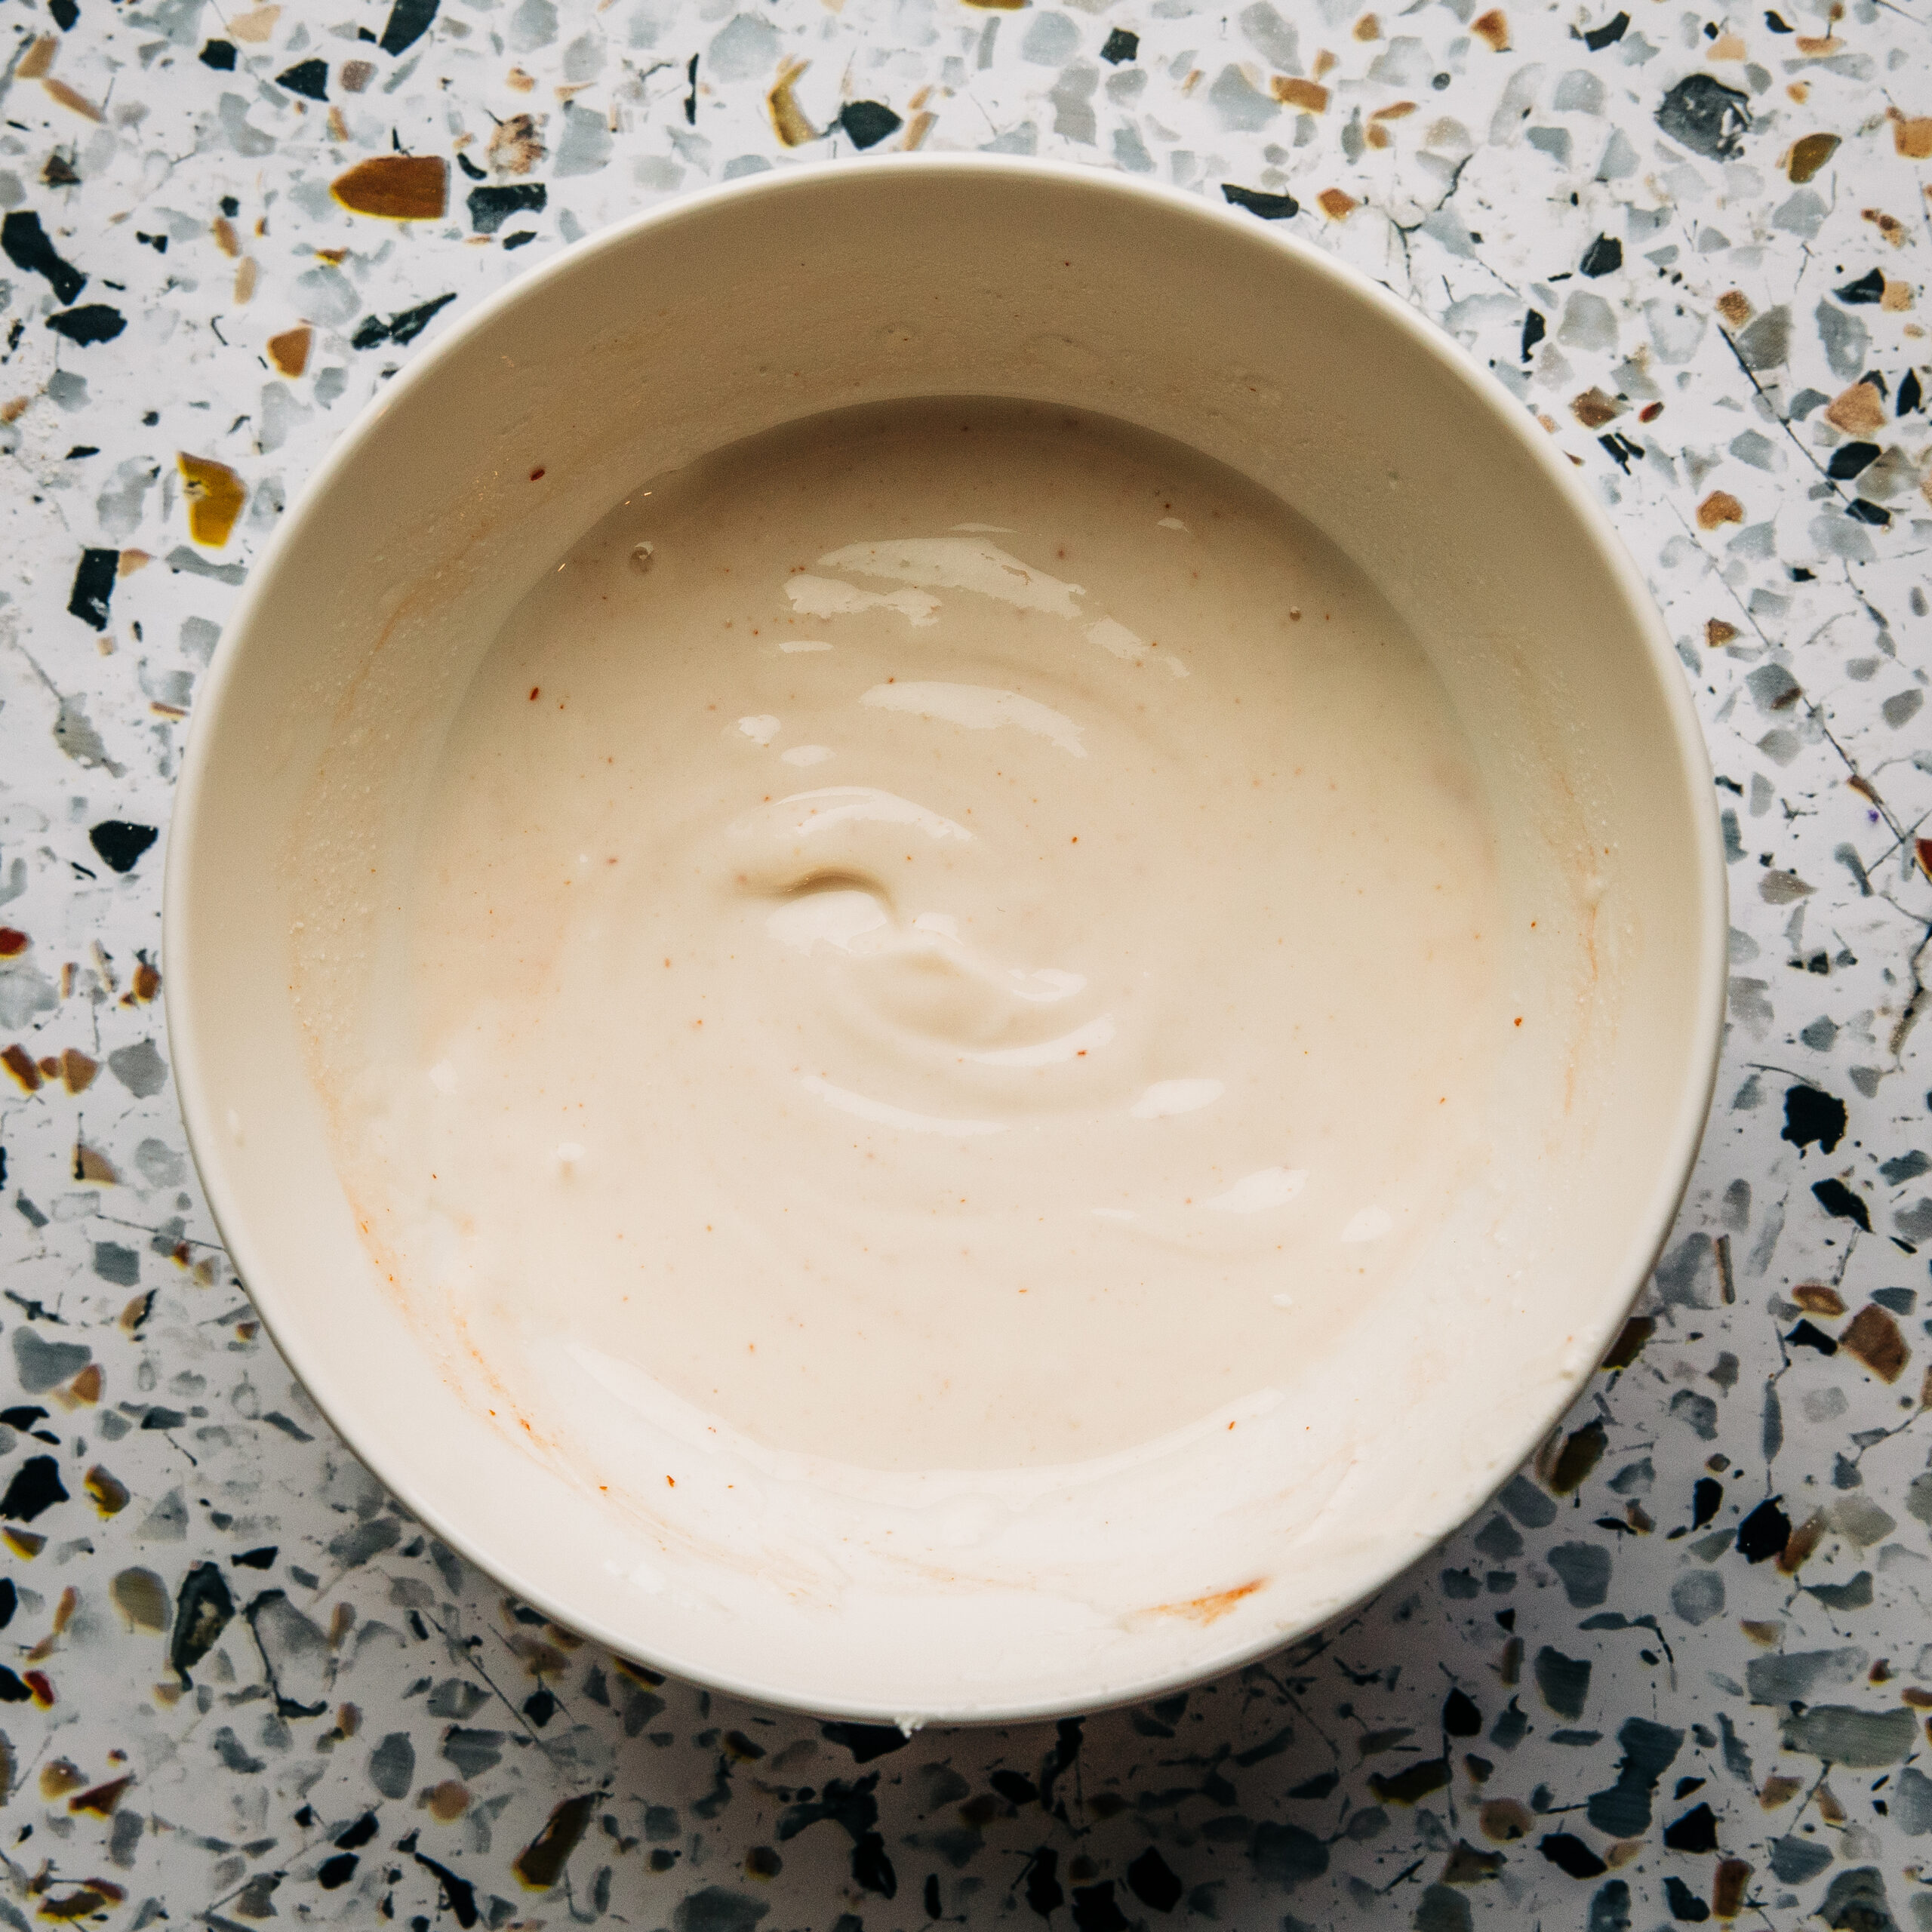
- In a separate shallow dish, whisk together yogurt, salt, and hot sauce until smooth. If it’s too thick, add a little water.
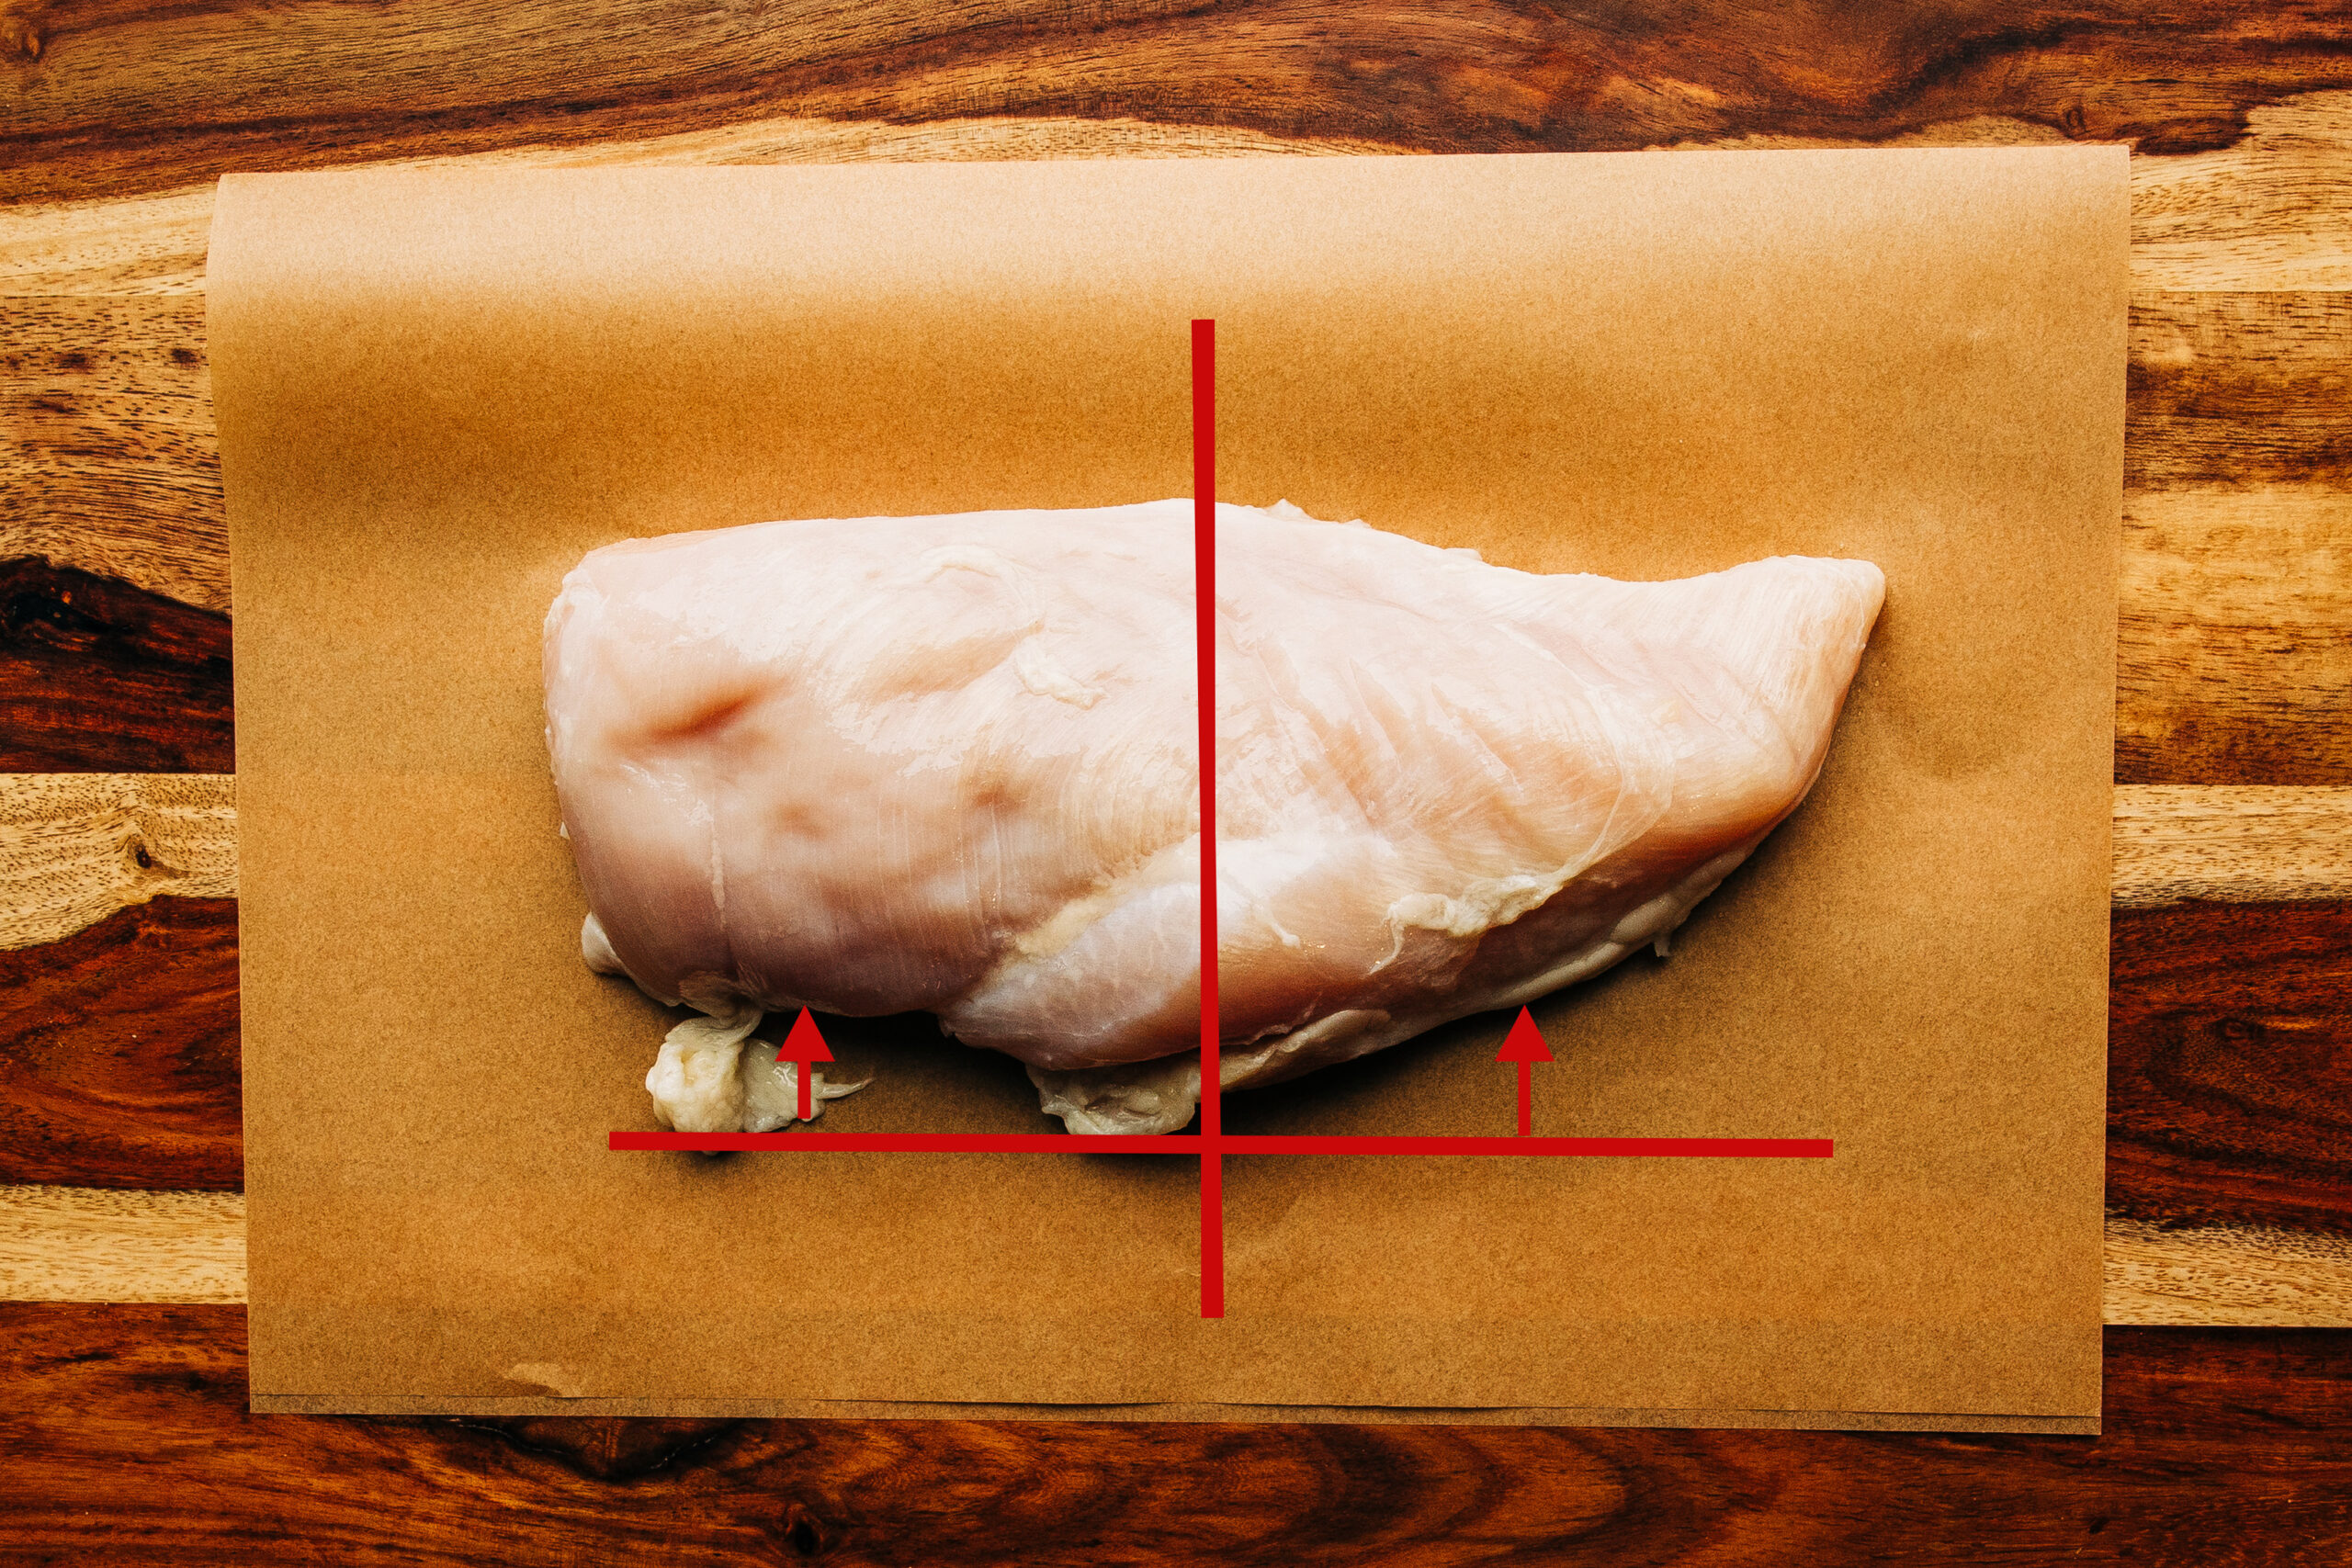
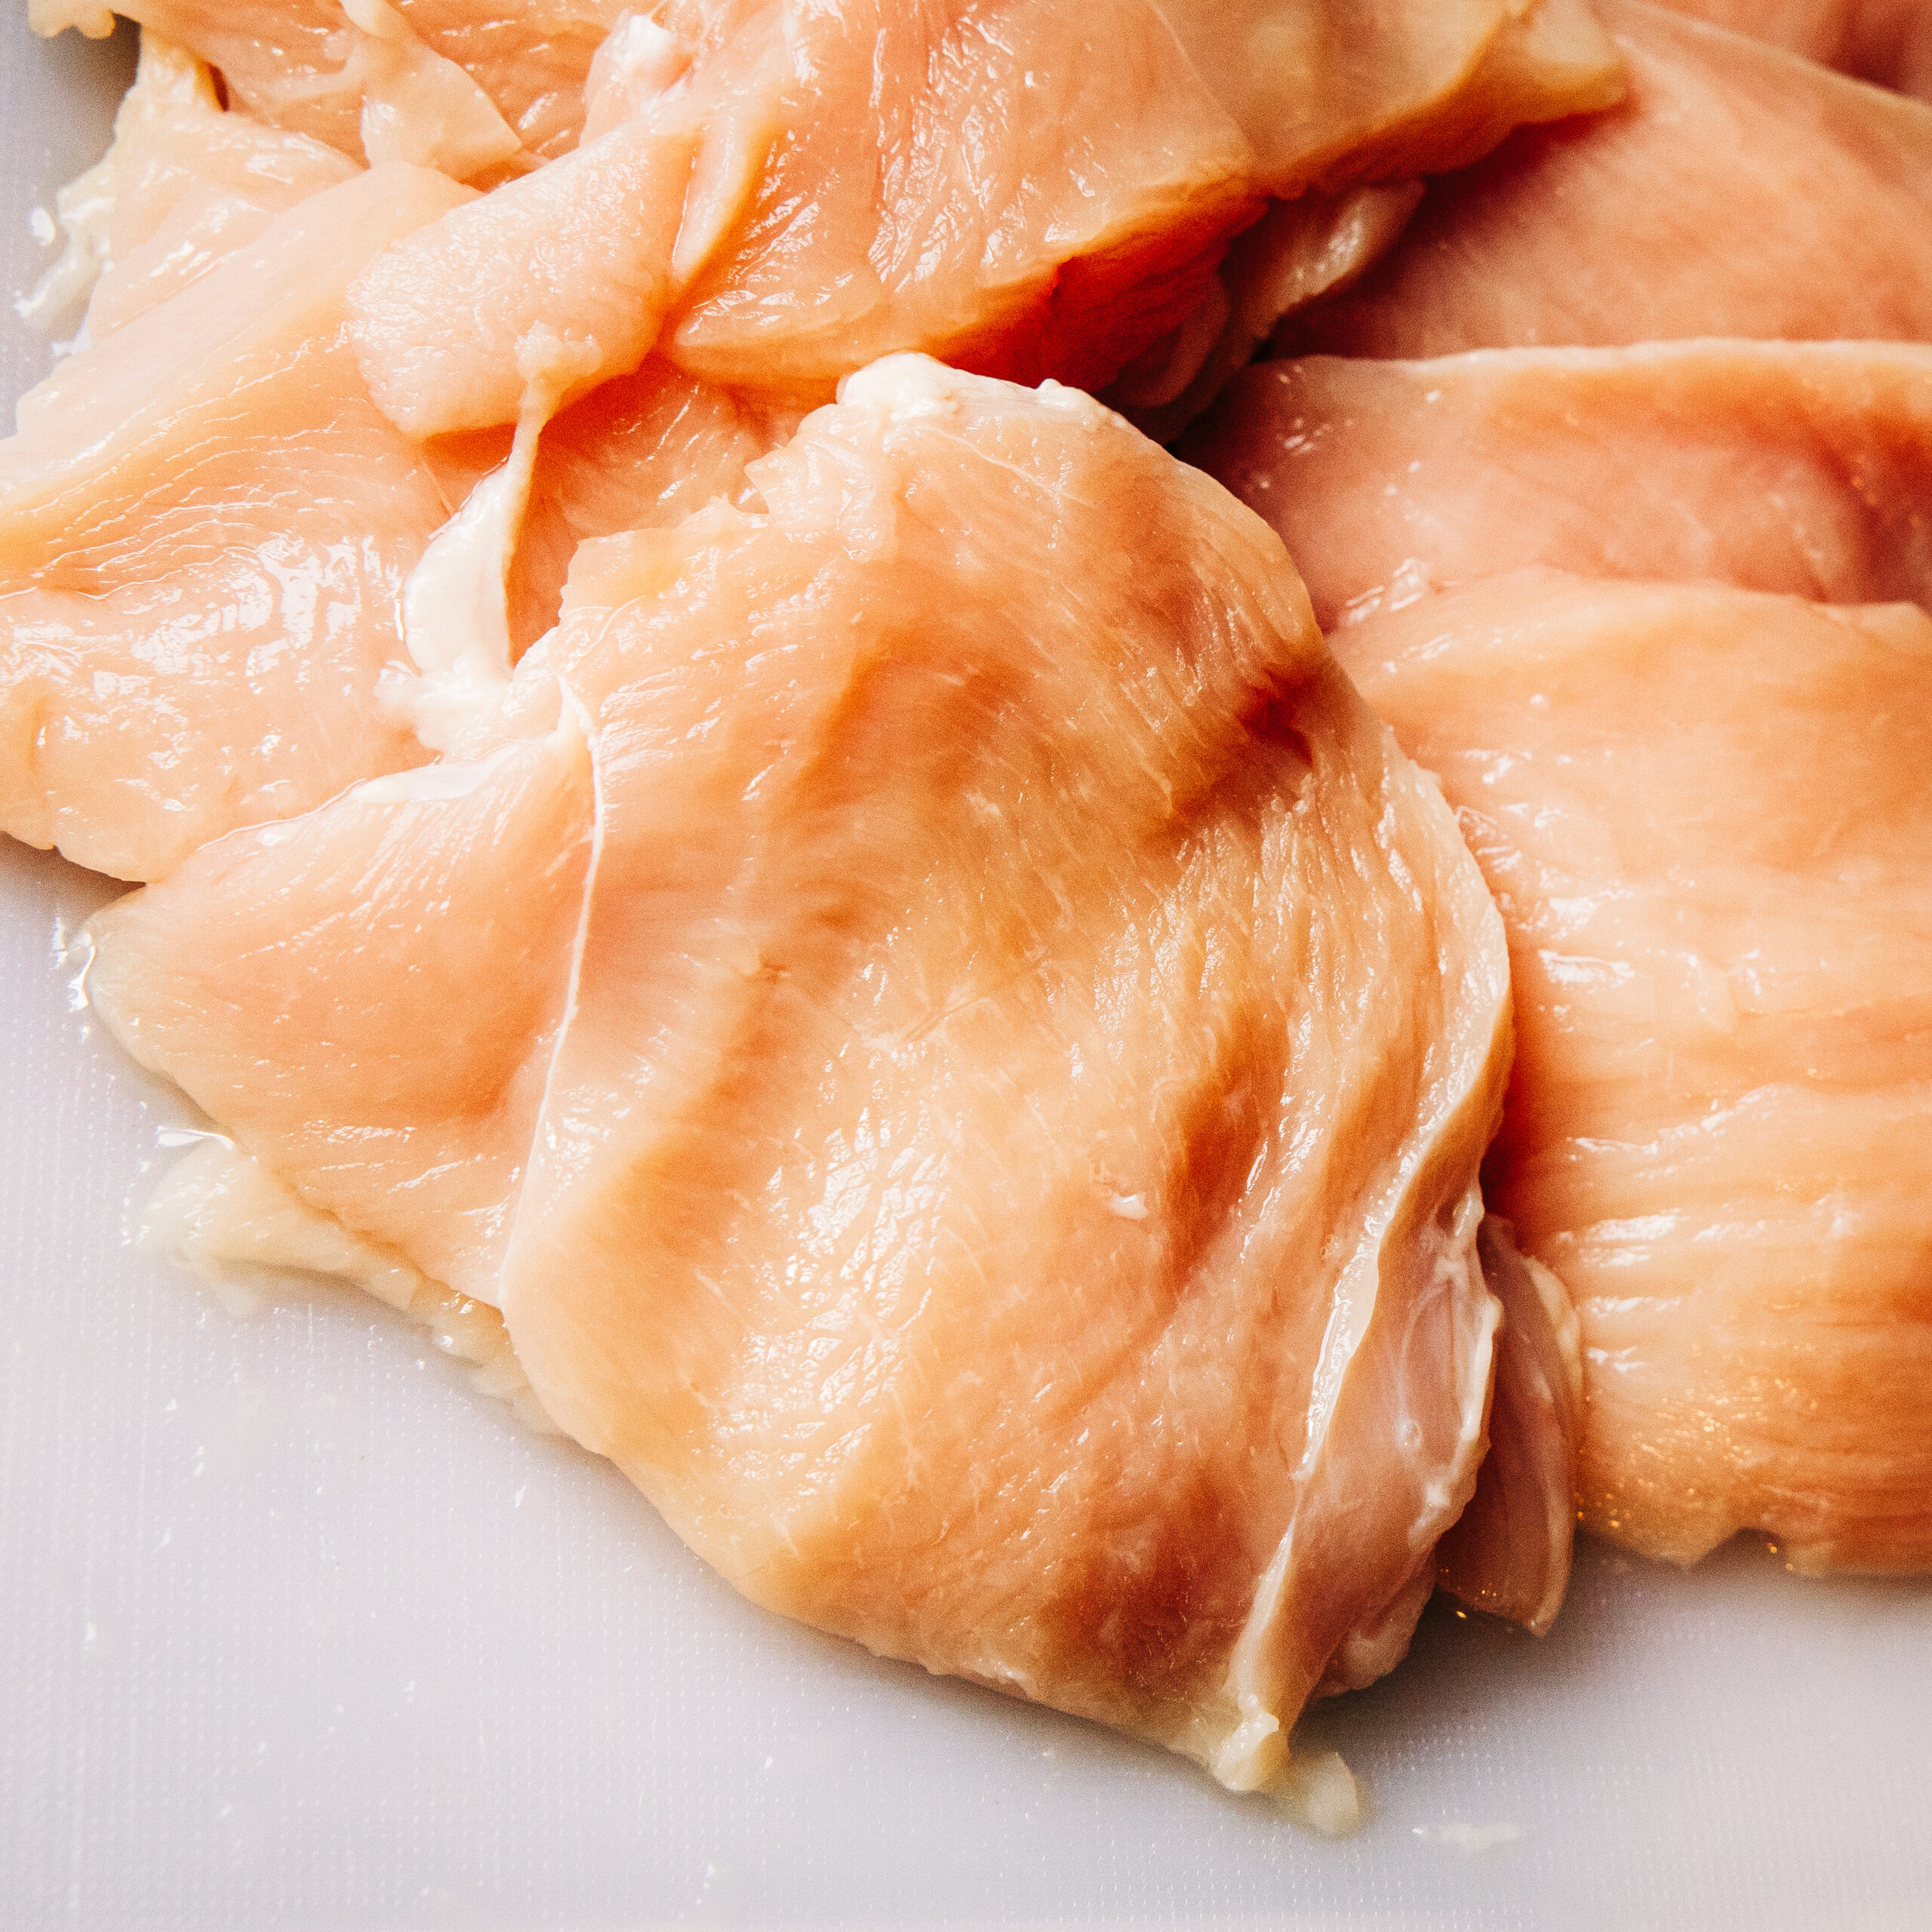
- Slice you chicken breast in half (from left to right in the photo) Then slice each piece horizontally to make 4 pieces. If you have extra time you can use a meat mallet to make them a uniform thickness…but who has time for that? 😂 Season the pieces with a pinch of salt and cayenne pepper.
- Dip each piece of chicken into the yogurt mixture, making sure it’s fully coated, then dredge it in the seasoned bread crumbs, pressing gently to help the coating stick. Place the breaded chicken on the prepared wire rack.
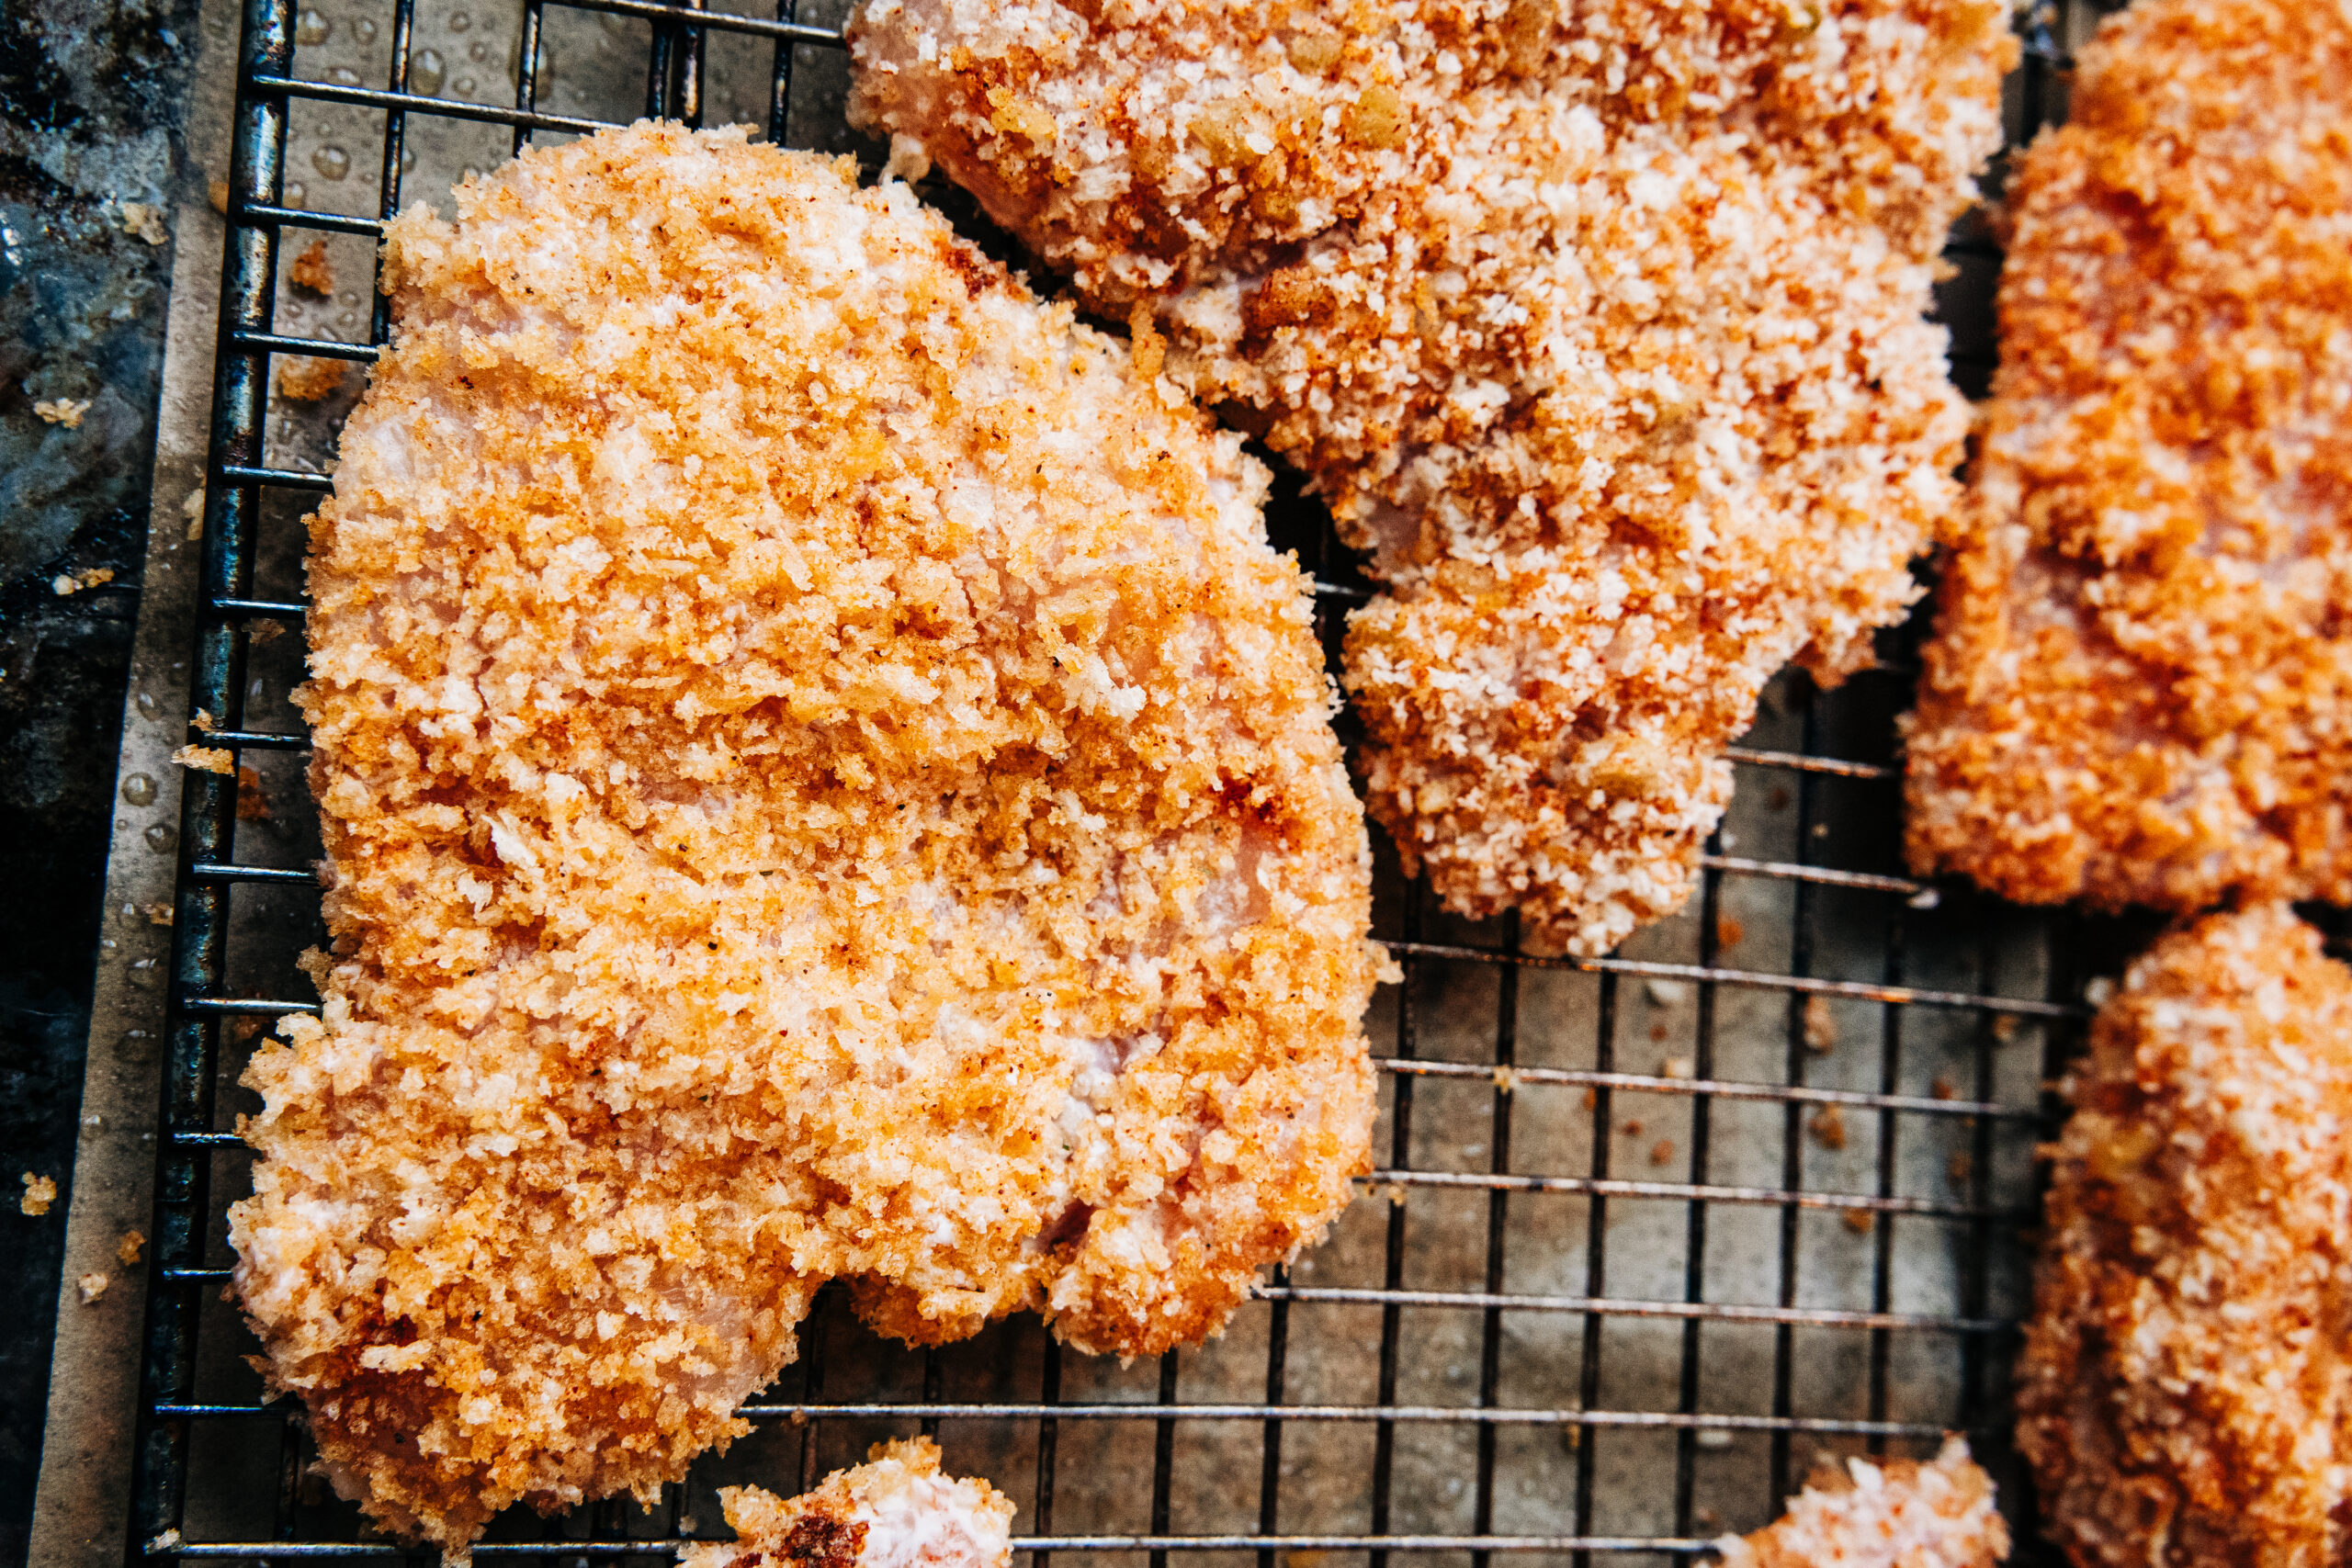
- Transfer the baking sheet to the oven and bake for 25 minutes, flipping the chicken halfway through. The chicken is done when it reaches an internal temperature of 165ºF.
- Place on bun with desired toppings we LOVE Cleaner Copycat Chick-fil-A Sauce, Chicken’s Best Friend on this! Enjoy!!
How Not to Bread Chicken Like a Total Mess: Wet Hand, Dry Hand 101
Breading chicken can get ugly fast. One minute you’re feeling like a fancy home chef, and the next you’ve got clumps of flour-egg-breadcrumb glue all over your hands, the counter, your shirt… honestly, it’s a whole situation. 😂
That’s where the wet hand/dry hand trick saves the day and keeps the yogurt mix and the breadcrumb mix from partying together.
When you’re breading something (like chicken breasts), you’ve usually got two or three bowls —
Now the one hand handles the “wet stuff” (the yogurt mix), and one hand handles the “dry stuff” (the breadcrumb mix).
- Dry hand: Grab the chicken, drop it into the yogurt mixture.
- Wet hand: Pick it up from the yogurt mixture and plop it into the breadcrumbs.
- Dry hand again: Finish it off, coating the chicken in the breadcrumbs.
If you start using the same hand for both steps (ask me how I know 🙃), you’ll end up looking like you’re trying to bread yourself for dinner. It gets gross fast.
Keeping one hand wet and one hand dry sounds silly, but it honestly makes breading so much easier — especially when you’re trying to do a big batch for the family or prep ahead for the week. You’re not stopping every two seconds to wash your hands or peel off a layer of eggy dough. Total game-changer.
Pro tip if you’re doing chicken breasts: slice them thinner first! They cook faster, get crispier, and you don’t have to babysit the oven for an hour.
Anyway — the wet hand/dry hand trick? It’s lowkey the best kitchen hack no one talks about enough. Try it once and you’ll wonder how you ever survived without it. 🙌
Baked Crispy Chicken Sandwiches
Crispy Baked Chicken Sandwiches – A Healthier Take on a Classic
Ingredients
- 1.5 cup breadcrumbs- I use a combo of plain breadcrumbs and panko
- 1 tsp garlic powder
- 1 1/2 tsp smoked paprika
- 1 tsp cayenne
- 1/4 tsp salt
- dash of pepper
- 4.5 Tbsp cooking oil
- 3/4 cup plain yogurt
- 1/4 tsp salt
- 3 tsp hot sauce
- 3 boneless/skinless chicken breast
- 6 buns
Instructions
- Set your oven to 425ºF. Place a wire rack on top of a baking sheet—this will keep the breaded chicken elevated while it bakes, helping it crisp up evenly.
- In a wide, shallow dish, mix together bread crumbs, garlic powder, smoked paprika, cayenne, salt, and freshly cracked black pepper. Once combined, drizzle in the cooking oil and stir until the mixture has a damp, sand-like texture.
- In a separate shallow dish, whisk together yogurt, salt, and hot sauce until smooth.
- Slice your chicken breast in half (from left to right in the photo) Then slice each piece horizontally to make 4 pieces. If you have extra time you can use a meat mallet to make them a uniform thickness...but who has time for that? 😂 Season the pieces with a pinch of salt and cayenne pepper.
- Dip each piece of chicken into the yogurt mixture, making sure it’s fully coated, then dredge it in the seasoned bread crumbs, pressing gently to help the coating stick. Place the breaded chicken on the prepared wire rack.
- Transfer the baking sheet to the oven and bake for 25 minutes, flipping the chicken halfway through. The chicken is done when it reaches an internal temperature of 165ºF. Serve on buns with your favorite toppings, check out our Copycat Chick-Fil-A Sauce! Enjoy!
Notes
This has a subtle kick to it, if you want to tone down the spice you can skip the hot sauce and/or cayenne.
Be sure to PIN these Crispy Chicken Sandwiches to save for later!


Pingback: Cleaner Copycat Chick-fil-A Sauce, Chicken's Best Friend
I omitted the hot sauce and still really enjoyed this chicken sandwich! I love how easy this was! Great recipe!!
Pingback: Southwest Egg Rolls Better Than Chili's: A Healthy Copycat - The Good Stuff Bake Shop & Blog